Frequent readers know that books can sustain a lot of wear and tear with regular use. School-age children can quickly wear out their favorite chapter books or workbooks, and adult readers can unwittingly stain or rip book covers while they're on the go. If you're hoping to protect your new book – or your child's – from the perils of frequent reading, cover it with clear contact paper for a protective, easy, and non-permanent solution.In about five minutes, you can trim, fold, and press contact paper to make a subtle but protective cover.
Part 1 Measuring and Cutting the Paper
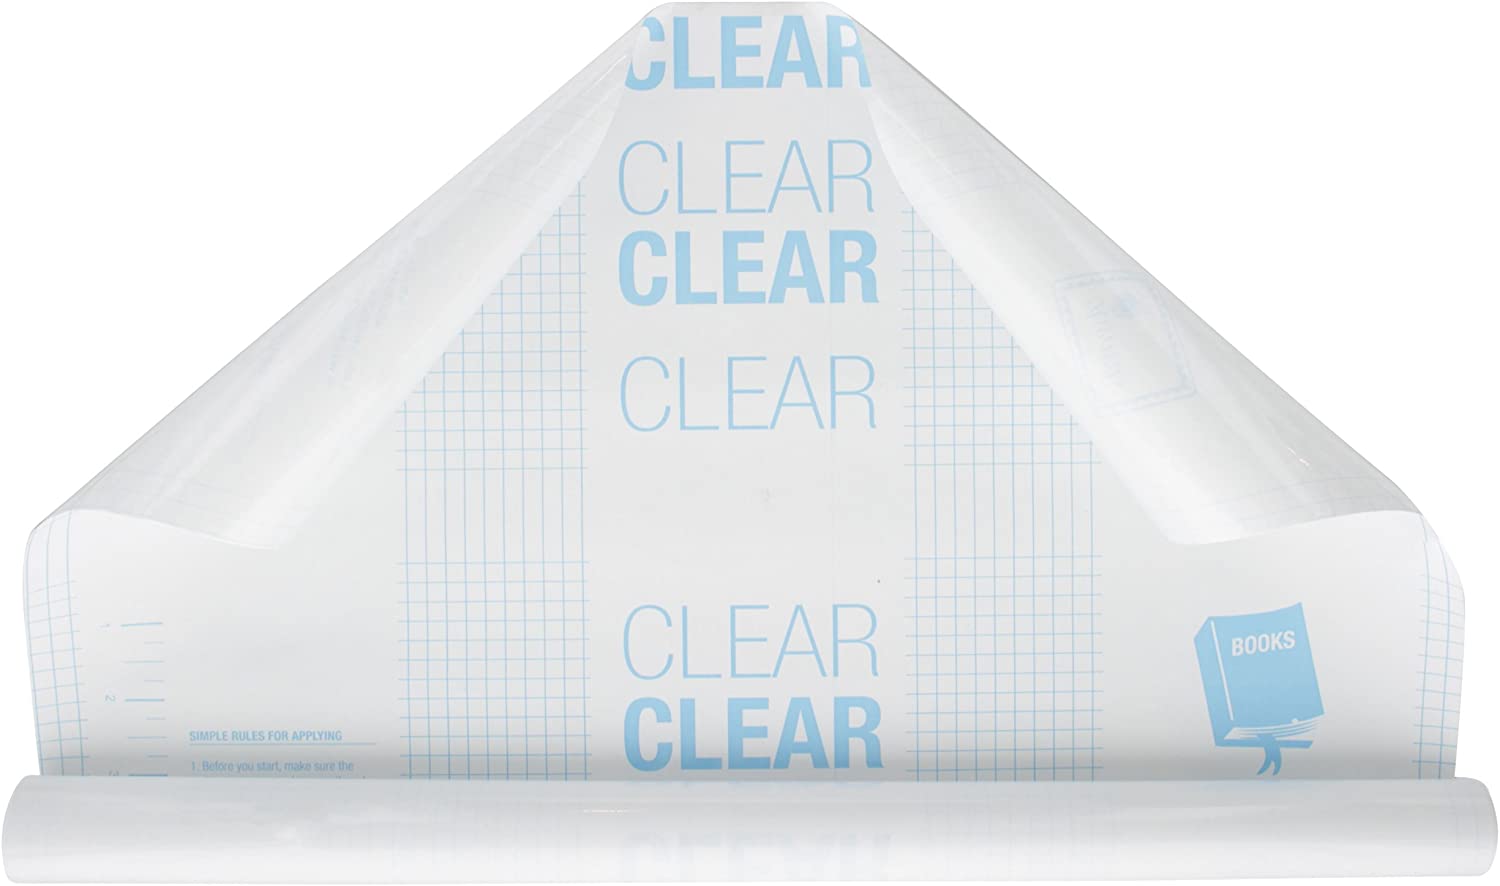
1. Cut a large sheet of
contact paper from the roll. It should be substantially more than twice the book’s width, and significantly longer than the book.
2. Open your book and place it on the contact paper. The pages should be face-up, as if you were about to read it. Make sure the bottom edge of the book is parallel to the bottom edge of the contact paper. The backing – or the material that is pulled off to reveal the sticky side – should be face-up.
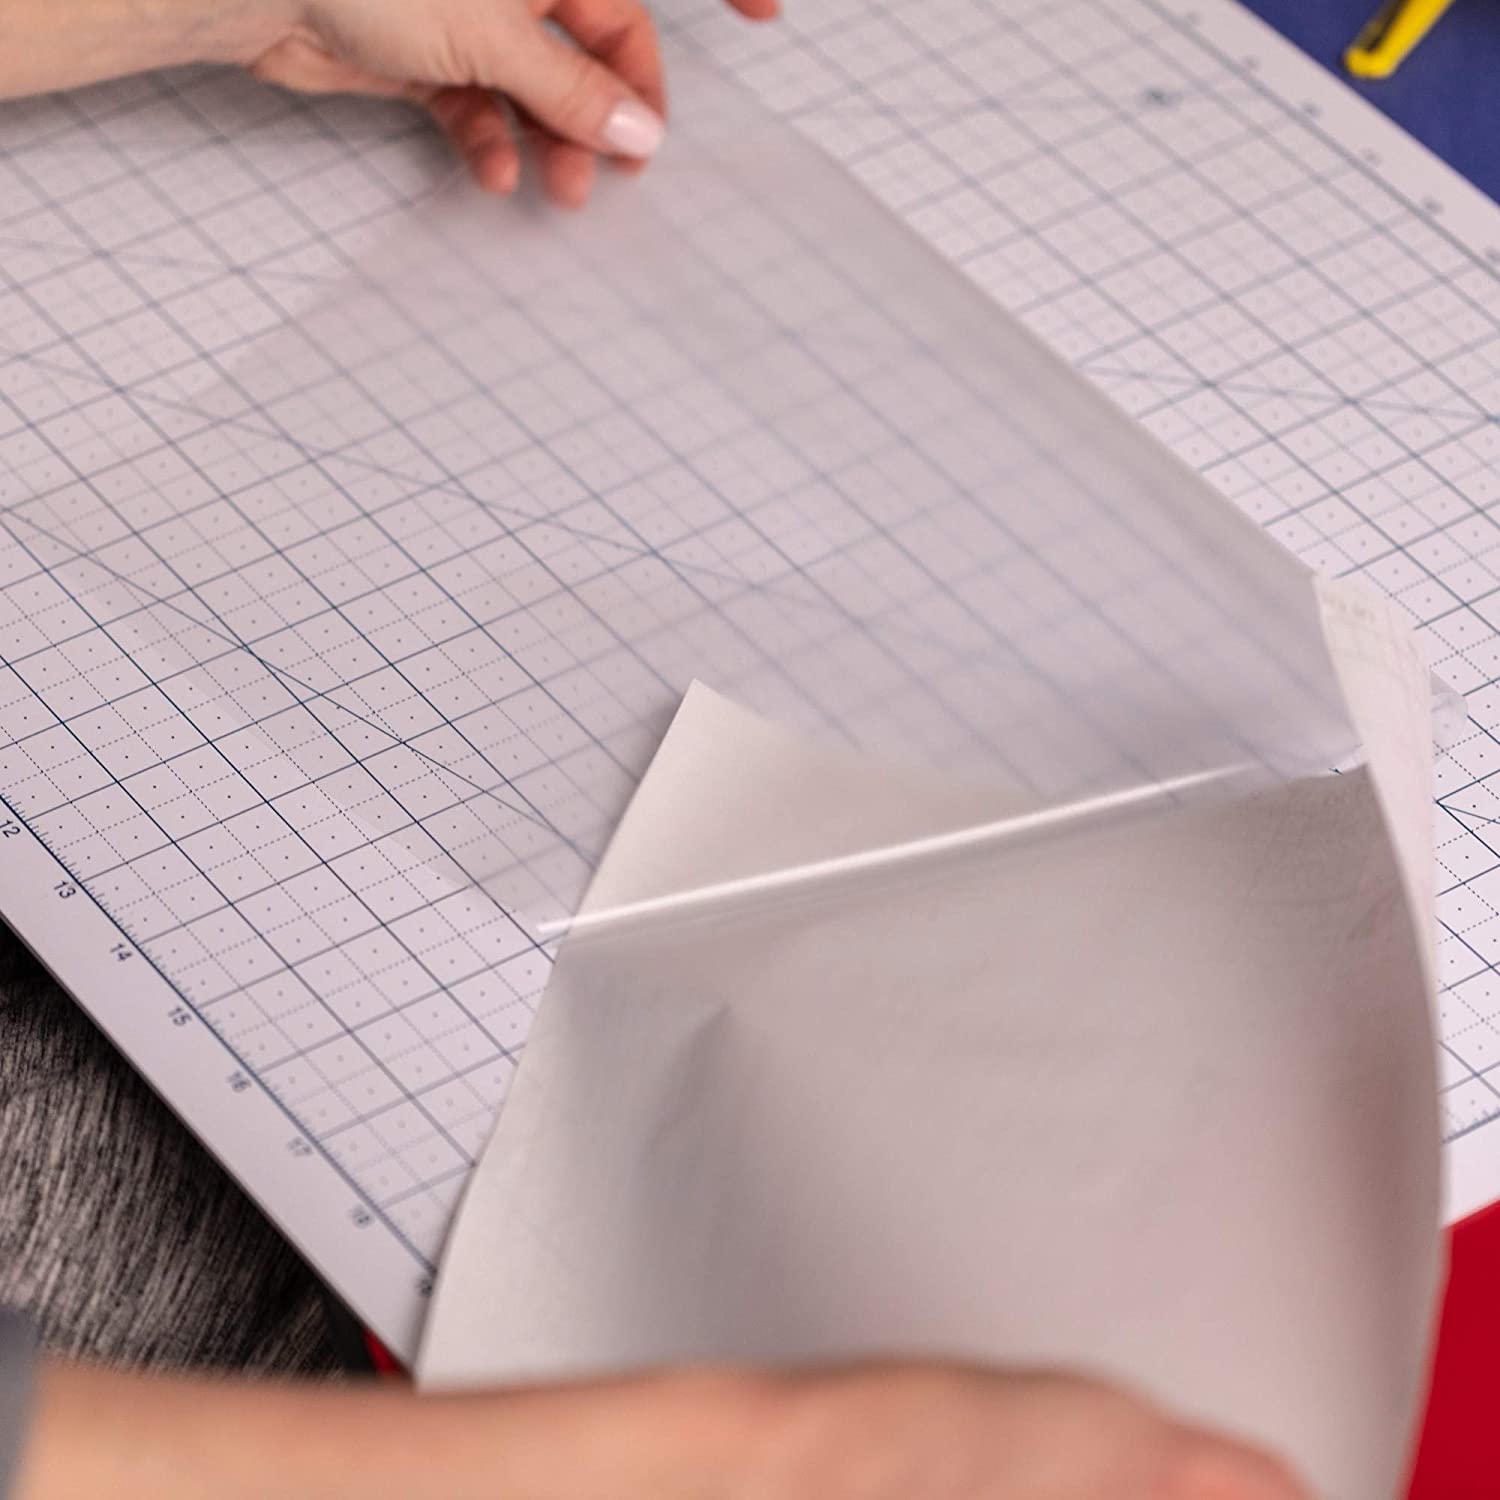
3. Draw a border around the open book. Using pencil, outline a large rectangle around the book. Each side of the rectangle should be exactly 4 centimetres (1.6 in) away from each edge of the cover. When you’re done, the rectangle will form a border of contact paper 4 centimetres (1.6 in) wide surrounding the open book.[4]
If your backing paper is printed with a grid, you can use it to measure the width of your border, and to guide you in drawing straight lines.
Though it’s more difficult than using grid-backed contact paper, you can use a ruler to measure out the width of your border if your backing is blank. Trace along the edge of the ruler as you draw your rectangle to ensure that your lines are straight, and take care to make sure the edges of your rectangle are parallel to the edges of your book.
4. Cut around the measured border. Using scissors or a paper-cutter, cut along the pencil lines you’ve drawn. When you’re finished, you should have a rectangle of contact paper that is 8 centimetres (3.1 in) longer and 8 centimetres (3.1 in) taller than your open book.
5. Fold the contact paper in half. Your fold should be vertical and in the center of the rectangle, exactly where the spine of your book was while you were measuring the paper. Crease the paper firmly.
6. Cut the contact paper so it will fold smoothly over the cover of your book.
Open up the folded sheet, then cut a one-inch square out of each corner of the rectangle. Then, cut 1 inch (2.5 cm) long slits at the top and bottom of the vertical fold. One slit should be located in the center of the top side of the rectangle, and the other should be located in the center of the bottom side. These cuts will create perfectly sized flaps that will eventually wrap over the edges of the book, securing the contact paper in place.
Part 2 Applying the Paper to Your Book
1. Place your book face-down on the contact paper. Open the folded contact paper and situate the book on the left side of the vertical fold. The backing paper should still be facing up. Align the spine of the (closed) book with the fold, and make sure the book is centered along the fold as well.
Check to make sure you have a 4 centimetres (1.6 in) border of contact paper everywhere but at the book’s spine. These borders will become the flaps that attach to the book’s cover.
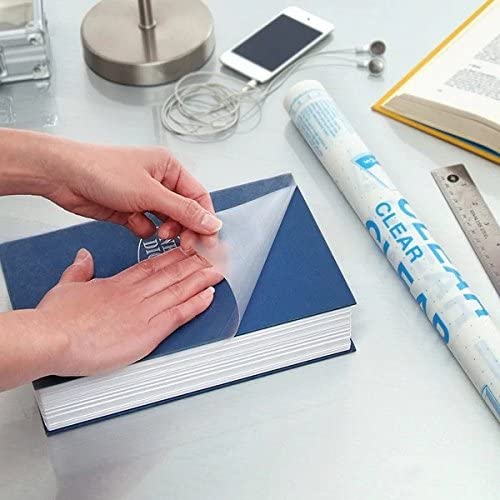
2. Peel the backing paper off the far right edge of the contact paper. On the side of the fold where you did not place the book, begin to slowly and carefully peel the backing away from the contact paper. Peel straight up and down and to your left, creating a tall, skinny rectangular flap of backing paper separate from the exposed contact paper, approximately 5 centimetres (2.0 in) wide.
3. Fold the flap of backing to the left. This should leave a 5 centimetres (2.0 in) wide strip of exposed contact paper on the far right edge of your rectangle. Take care not to touch it or allow it to accidentally stick it to the backing.
4. Flip your book over to the right, keeping the spine aligned with the fold. The back cover should extend slightly over the crease where the backing paper is peeled away from the contact paper. It should be in contact with the sticky part of the contact paper.
It's wise to begin by applying contact paper to the back cover so you can get the hang of smoothing the paper before you try the front cover. If you leave unsightly bubbles on the back cover, you can improve your technique when you tackle the front.
5. Flip the
contact paper and book over. Overturn the book and the contact paper so that spine of the book is horizontal and facing toward you. The pages of the book should be pressed against the table, and the backing should be facing down. The exposed edge of the contact paper (and the edge of the book that’s sticking to it) should be at the top.
To ensure that the book sticks to the paper, press the exposed edge of the book firmly onto the exposed edge of the contact paper.
6. Peel the backing and press down the
contact paper simultaneously. Slip your non-dominant underneath the contact paper and begin pulling the flap of backing towards you. Grab a ruler with your dominant hand, and push it down over the surface of the contact paper in the same direction you’re peeling, pressing the contact paper down onto the back cover of the book as you push. Don’t stop until the entirety of the back cover is stuck to the contact paper.
Slowly move the ruler from side to side as you press the contact paper down. This will help to ensure even coverage and minimize bubbles.
7. Flip the book over so the cover is face-up. The book’s spine should once again be vertical. Then, open the book to the back cover and fold the pre-cut flaps over, pressing and smoothing them down so they stick firmly to the interior of the back cover.
8. Peel the backing and press the contact paper down on the front cover. Flip the book over once again so the spine is horizontal, but this time facing away from you. Slip your non-dominant hand underneath the contact paper and pull from the bottom, using the ruler to smooth the contact paper down onto the cover.
Don’t press too hard with the ruler. Instead, focus on applying even pressure.
9. Flip the book over and secure the flaps. Overturn the book so the front cover is facing down. Then, smooth down the pre-cut flaps, making sure they are flat and firmly attached to the inside of the book cover. Trim any loose pieces that might be sticking out from the top and bottom corners of the spine.[15]
Now that it’s protected by contact paper, you can personalize your book without making permanent changes to the cover


.jpg)
.jpg)
.jpg)
.jpg)
