
Contact Us
Changsha Hone Arts Co.,Ltd
TEL: +86-731-84886102
WhatApp:13975166561
E-mail: marketing5@hnarts.com
Address :RM 8033 FL 8 Tower B Wan Fu Hui Mansion 9 Shuang Yong RD PC 410003 Changsha China


Butterflies are enchanting creatures that captivate our imagination with their vibrant colors and delicate wings. Creating a butterfly template through the art of paper crafting allows us to capture their beauty and bring it to life. In this step-by-step guide, we will explore the process of making a butterfly template, enabling you to embark on a creative journey and craft your very own intricate butterfly design.
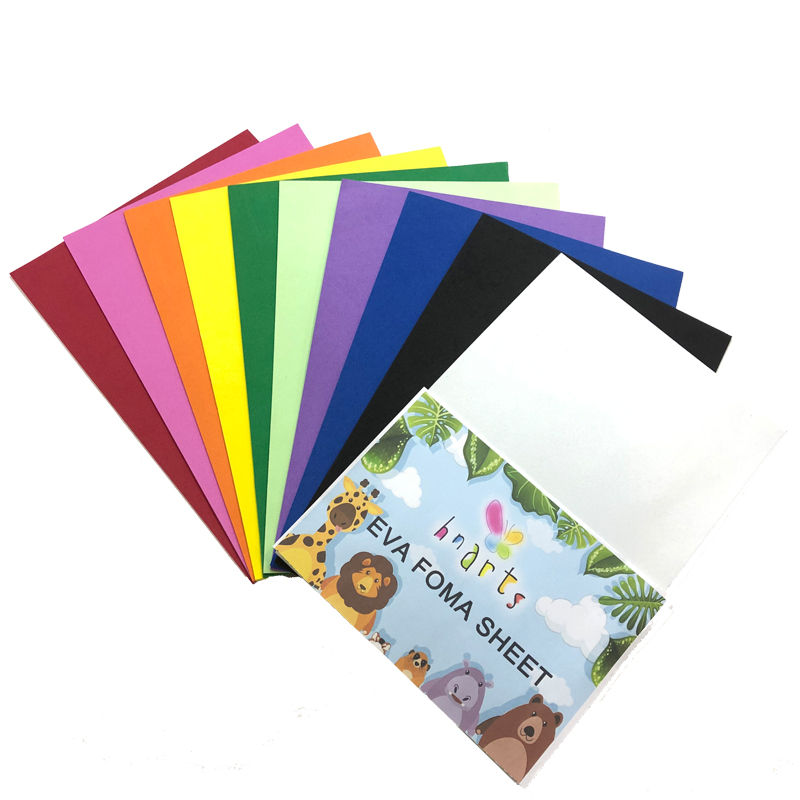
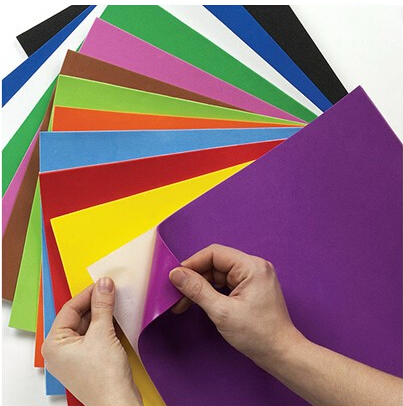
Step 1: Gather the Materials
To create a butterfly template, you will need the following materials:
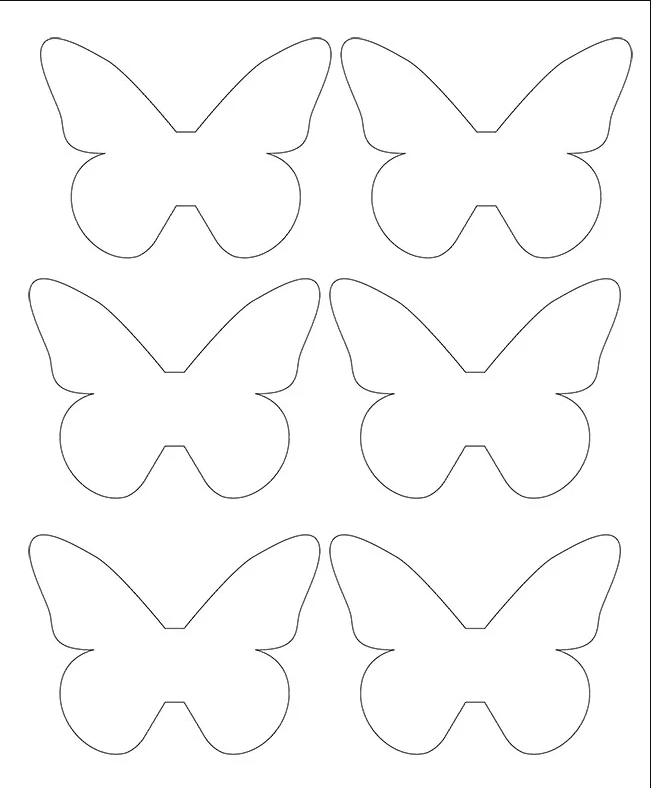
Step 2: Sketch the Butterfly Template
Start by sketching the outline of your butterfly template on a plain sheet of paper or cardstock. Begin with a simple butterfly shape, with two symmetrical wings and a body in the center. You can experiment with various wing shapes, sizes, and patterns to suit your preferences and creativity. Remember to keep the wings attached to the body to maintain the butterfly's structure.
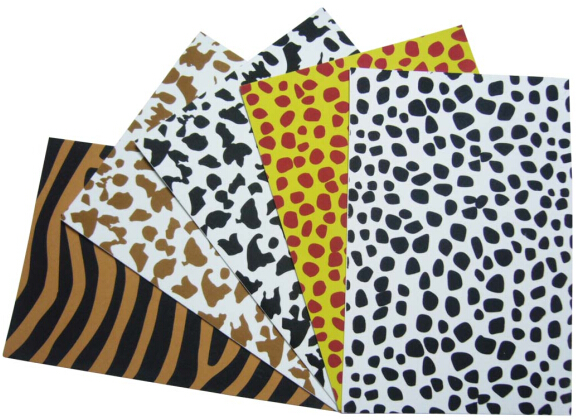
Step 3: Transfer the Template to Colored Paper
Once you are satisfied with your butterfly template sketch, place it on top of the colored or patterned paper of your choice. Secure the sketch in place with tape or paperweights. Using a pencil, carefully trace the outline of the butterfly template onto the colored paper. Ensure that your lines are light and easily erasable, as they will be removed later.
Step 4: Cut Out the Butterfly Shape
With the template outline transferred to the colored paper, it's time to cut out the butterfly shape. Follow the traced lines with your scissors, cutting through both layers of paper. Take your time and make precise cuts to maintain the integrity of the butterfly shape and its wings. Remember to leave the connection between the wings and the body intact.
Step 5: Decorate the Butterfly Template
This step is optional but allows you to add your personal touch to the butterfly template. Use markers, colored pencils, or other decorative materials to embellish the wings with patterns, gradients, or intricate designs. Let your creativity soar as you bring your butterfly template to life with vibrant colors and unique details.
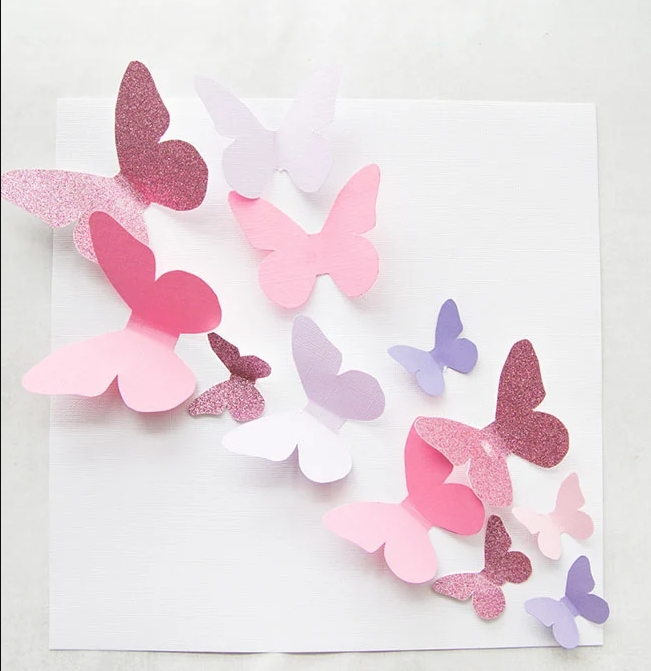
Step 6: Folding and Displaying
To give your butterfly template a three-dimensional appearance, gently fold the wings upward along the body's connection line. This folding technique creates a realistic effect, mimicking the way butterflies hold their wings when perched. Once you have folded the wings, your butterfly template is ready to be displayed. You can attach it to a wall, use it as a decorative element in crafts, or even create a mobile with multiple butterfly templates.
Conclusion:
Crafting a butterfly template is a delightful and creative endeavor that allows you to bring the elegance of butterflies to life through paper crafting. By following this step-by-step guide, you can create your own unique butterfly template, experimenting with various colors, patterns, and designs. Let your imagination take flight as you explore the art of butterfly template crafting and embrace the beauty of these magnificent creatures in your creations.


.jpg)
.jpg)
.jpg)
.jpg)
