Contact Us
Changsha Hone Arts Co.,Ltd
TEL: +86-731-84886102
WhatApp:13975166561
E-mail: marketing5@hnarts.com
Address :RM 8033 FL 8 Tower B Wan Fu Hui Mansion 9 Shuang Yong RD PC 410003 Changsha China


Hey kids (and cool grown-ups too)!
Are you ready for a craft adventure with EVA foam?
Today, we’re gonna make two super cute creations: a clownfish that looks like it’s swimming right out of the ocean, and a squirrel that’s totally ready to munch on acorns. Let’s dive in (pun intended for the fish)!
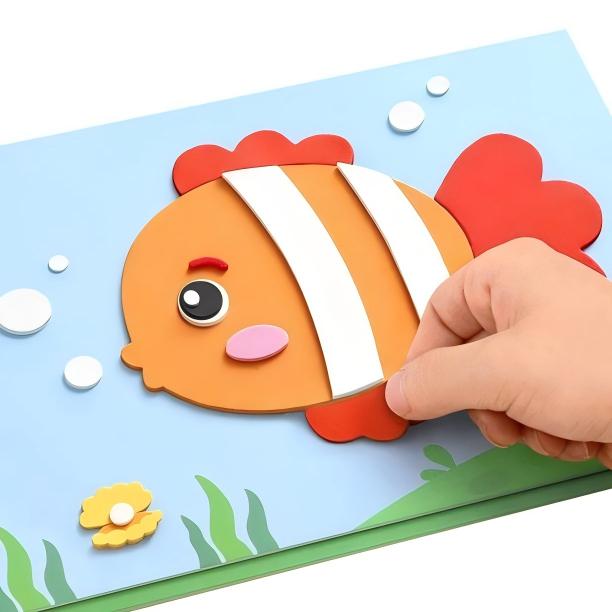
1. Let’s Make a Clownfish: Ocean Buddy Alert!
First up, our colorful clownfish friend.
Here’s how to bring it to life with EVA foam:
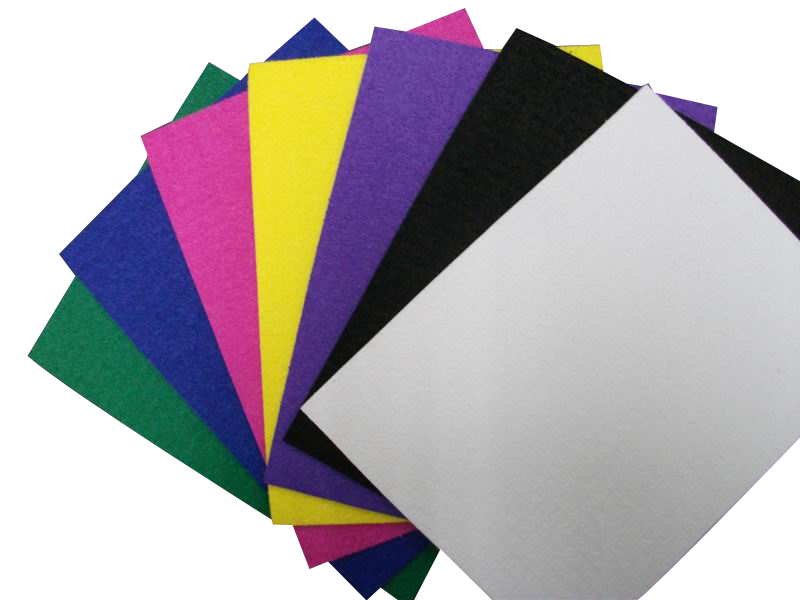
Step 1: Gather Your “Ocean Kit”
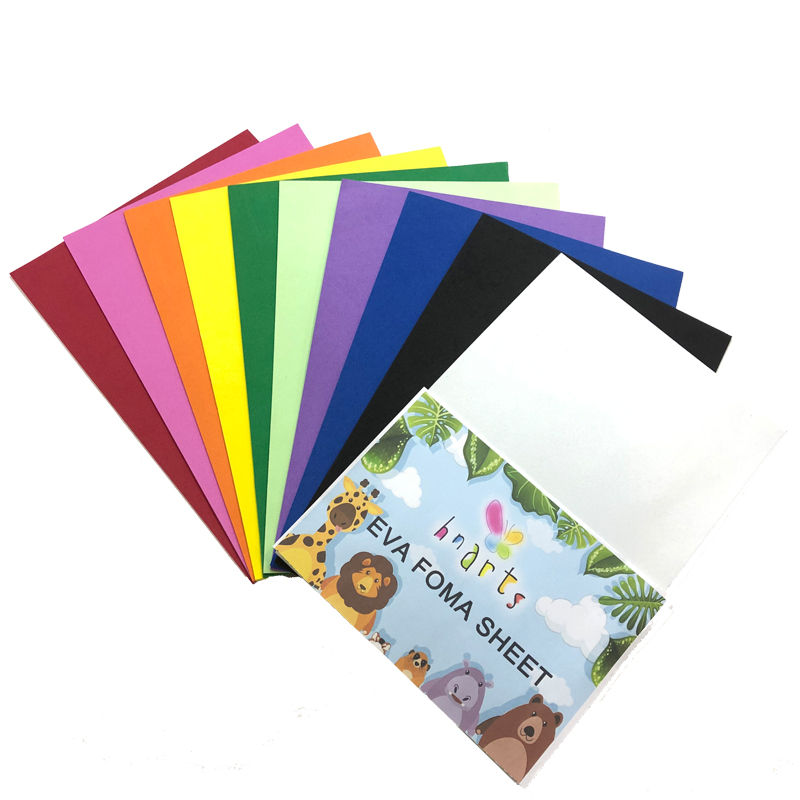
Grab EVA foam sheets in orange, red, white, black, pink, and a light blue sheet for the “ocean” background. Also get kid-safe scissors, glue, and a pencil (to trace shapes—no cheating, but it helps!).
Step 2: Cut the Fish’s Body
Take the orange foam and cut out a round shape—this is your clownfish’s head and body. Imagine it’s the main “blob” that’ll become a fish!
Step 3: Add Stripes & Fins (The Fun Parts!)
Cut two long white strips from the white foam and stick ’em onto the orange body—these are the clownfish’s famous stripes (they make it look so cool!). Then, cut red foam into:
- A wavy shape for the top fin (like a little crown).
- A heart shape for the tail (so it can swim fast!).
- Tiny red bits for the bottom fins (to help it steer).
Glue all these red parts onto the orange body.
Step 4: Give It a Silly Face
Stick a big black circle on for the eye—add a tiny white circle on top if you want sparkly “fish eyes”! Then cut a small red curve for an eyebrow and a pink oval for a cheek. Glue those on, and your fish now has a super cute expression.
Step 5: Create the Ocean World
On the light blue background, cut small white circles for bubbles and glue them around the fish. You can also cut green foam strips to look like seaweed and stick them at the bottom.
Step 6: Assemble & Swim!
Glue the orange fish onto the blue background, then add all the little details. Now your clownfish is ready to “swim” in its own tiny ocean—show it off to your friends!
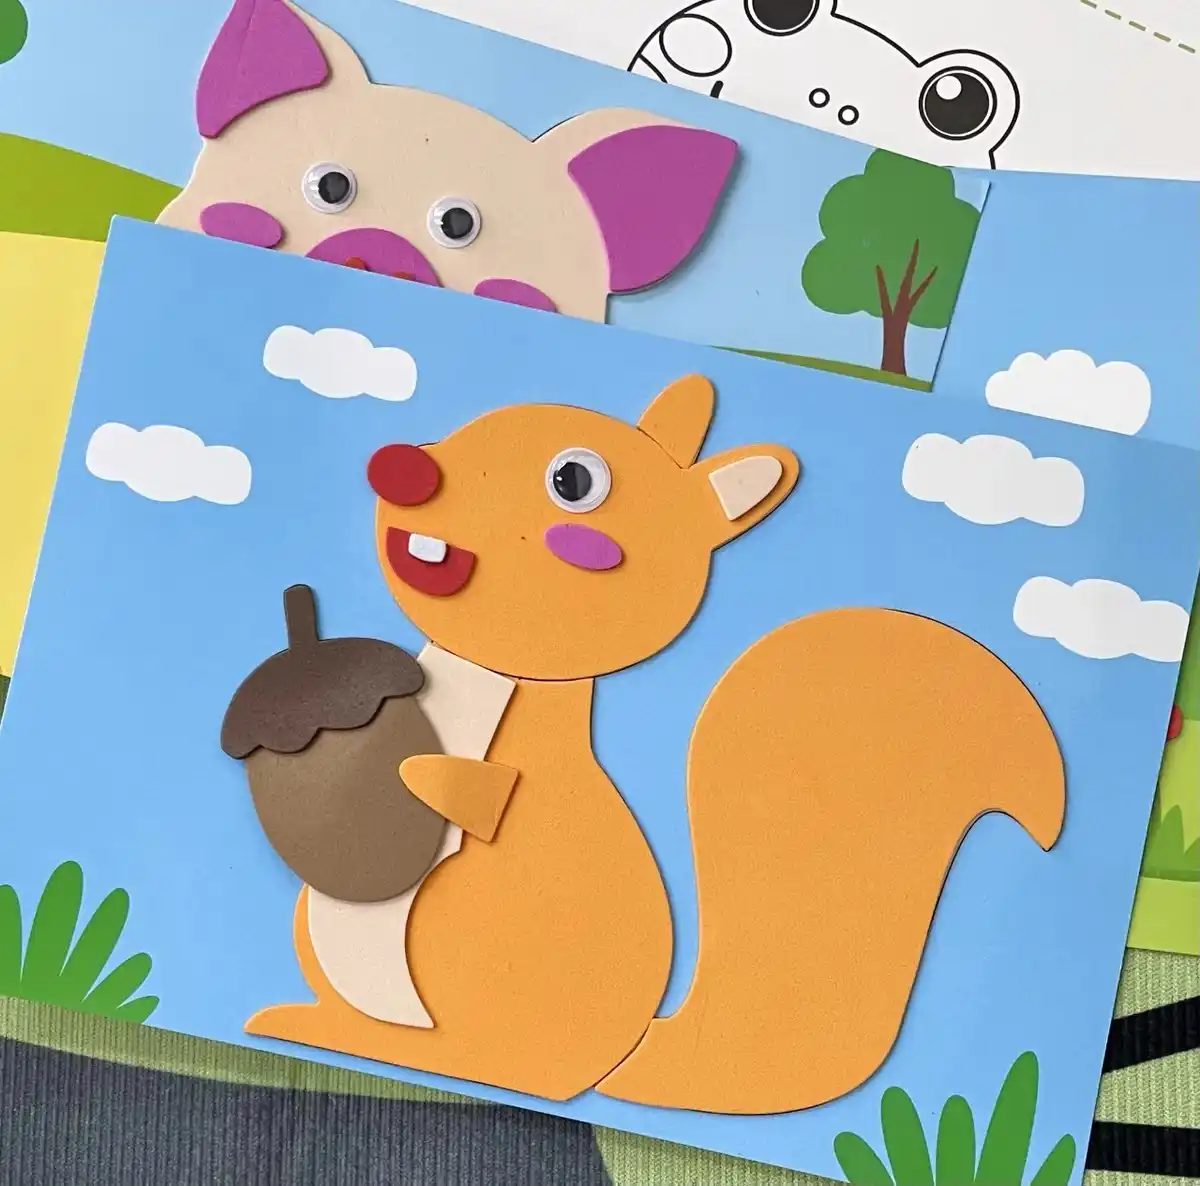
2. Let’s Make a Squirrel: Acorn-Loving Cutie!
Next, let’s make a squirrel that’s dying to stash acorns for winter. Here’s the step-by-step:
Step 1: Grab Your “Forest Kit”
Get EVA foam sheets in orange, brown, beige, red, pink, white, blue (for the sky), green (for grass), plus kid-safe scissors and glue.
Step 2: Cut the Squirrel’s Body
Use orange foam to cut out:
- The main body.
- The head.
- A huge fluffy tail (squirrels need big tails to balance!).
Then cut a beige piece for the belly and glue it onto the orange body.
Step 3: Add Facial Flair
Cut a red circle for the nose, a red curved shape for the mouth, and a tiny white shape for a tooth (so it can nibble acorns!). Glue those to the face. Add googly eyes (or cut black/white foam circles for eyes) and pink ovals for rosy cheeks—now it looks friendly!
Step 4: Make an Acorn Snack
Take brown foam: cut a big oval for the acorn’s body and a smaller brown shape for the top. Glue them together—now the squirrel has a tasty treat!
Step 5: Build a Sky & Grass Background
Use blue foam for the sky and cut white cloud shapes to glue on. Then cut green foam into grass shapes and stick them at the bottom.
Step 6: Put It All Together
Glue the squirrel onto the blue sky/green grass background, then let it “hold” the acorn. Your squirrel is now ready to scamper around—so cute!
3.Why Our EVA Foam Is the Best for Crafting
Hey, after making these adorable creations, you might be thinking, “I need more of this EVA foam!” Well, here’s why our EVA is perfect for kids:
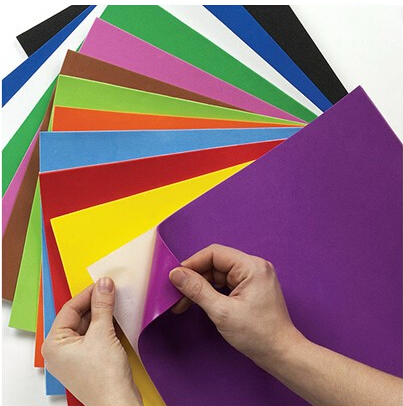
- 100% Non-toxic & Safe:
It’s made with materials that are totally kid-friendly—so you can cut, glue, and play without worrying.
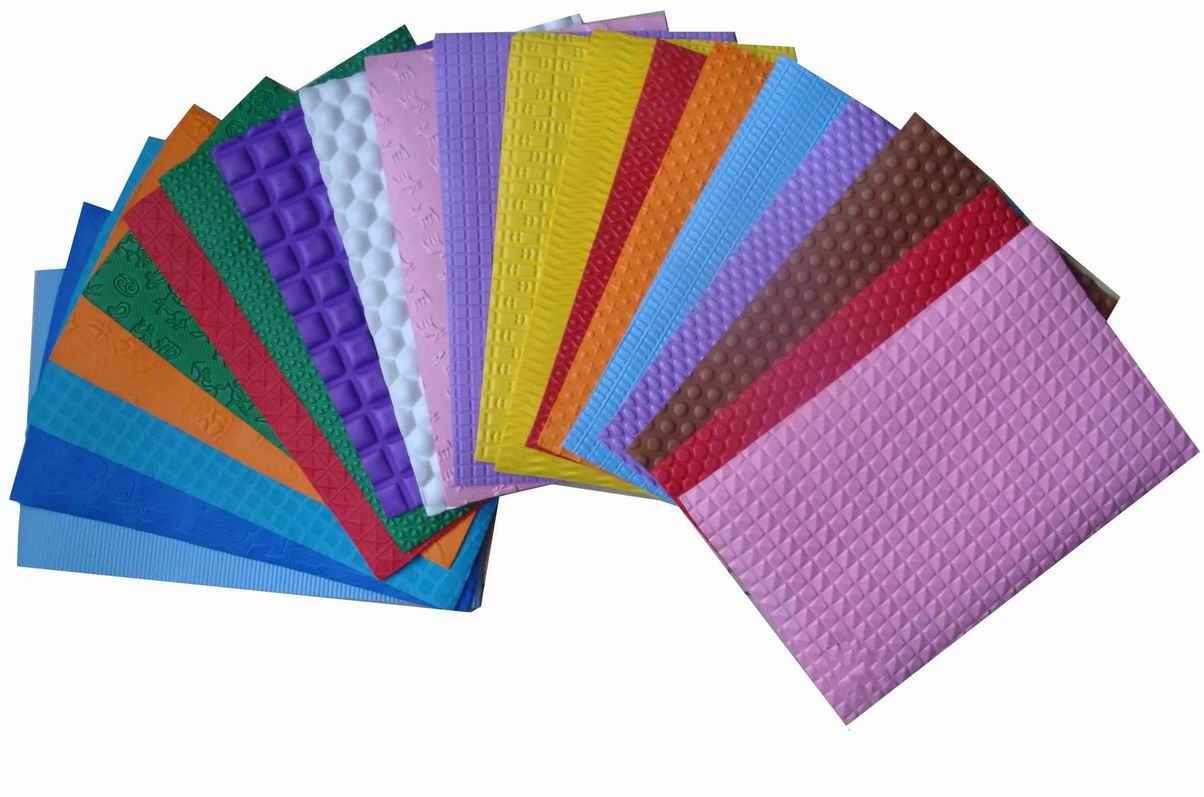
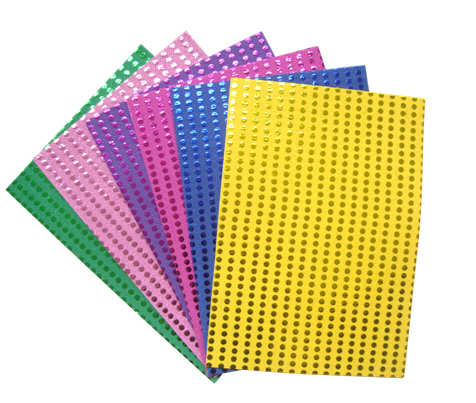
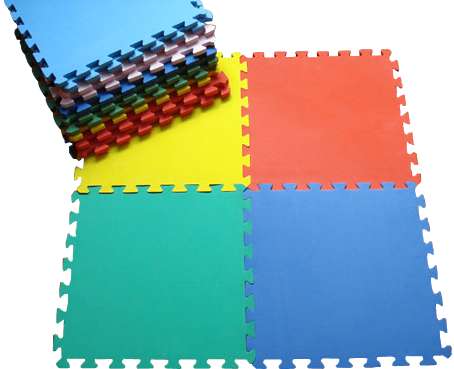
- Rainbow of Colors:
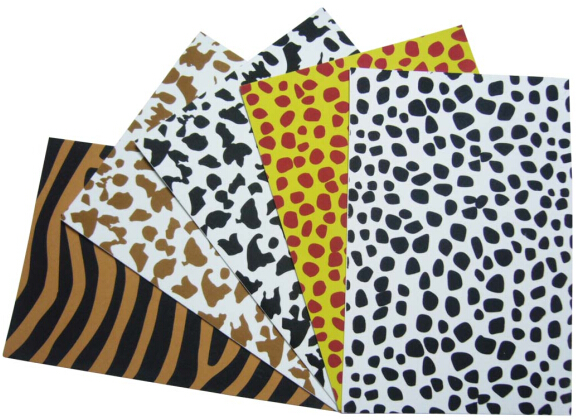
There are so many bright colors—orange, red, blue, green, and way more! You can make any animal, plant, or silly thing you dream up.
- Super Easy to Cut:
The foam is soft, so even little hands can cut shapes with scissors (adults, you can help too, but kids can do lots on their own!).
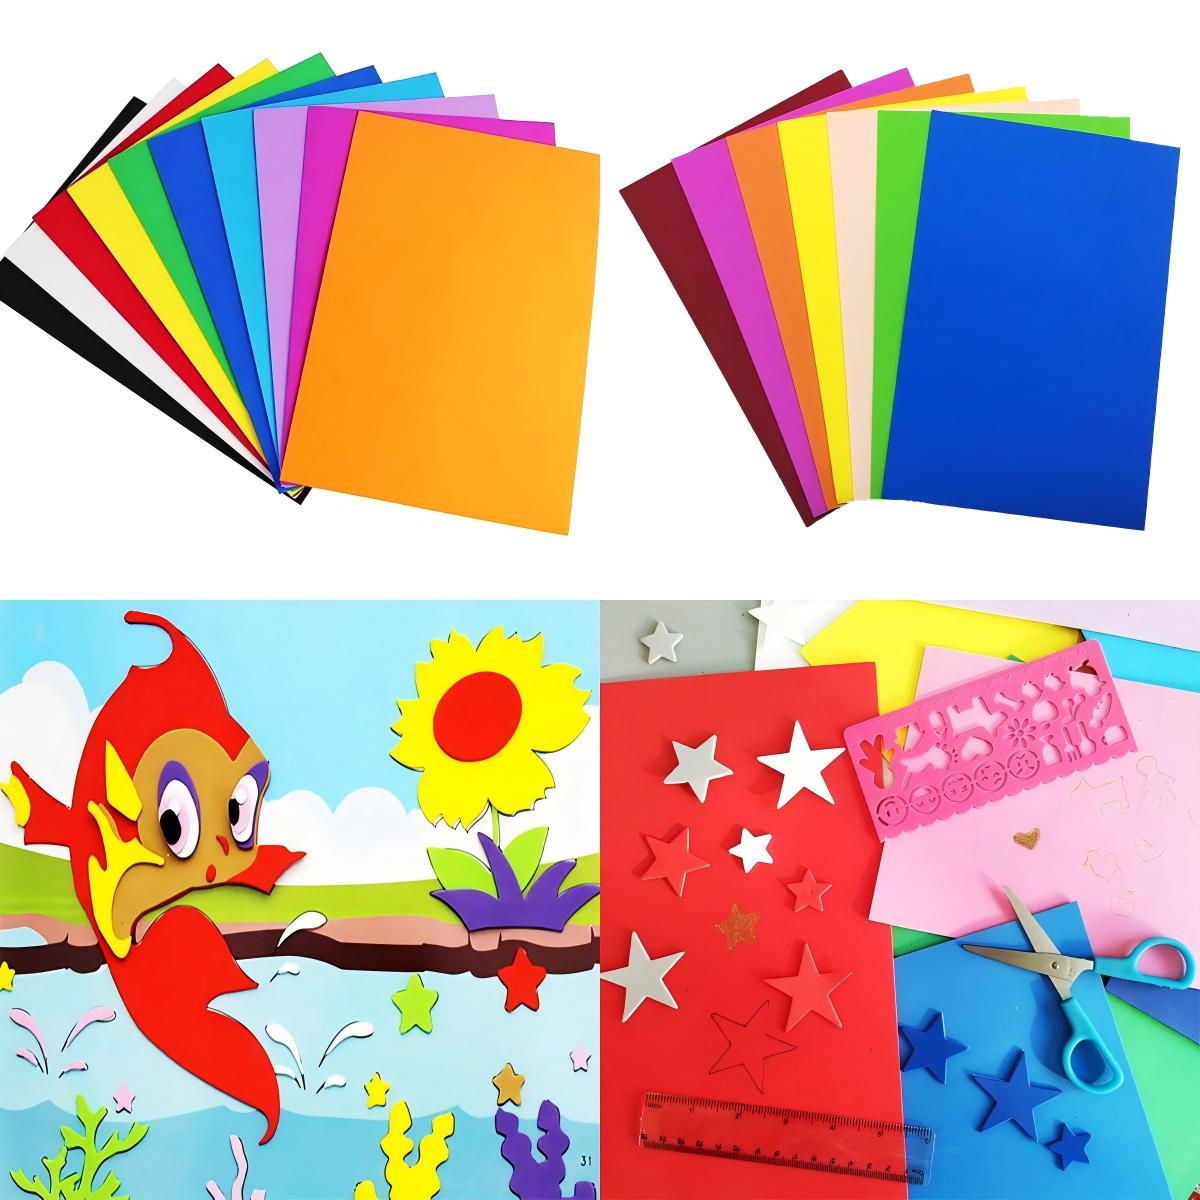
Whether you’re making ocean creatures, forest animals, or totally weird inventions, our EVA foam makes craft time awesome.
Let’s keep creating fun stuff together!


.jpg)
.jpg)
.jpg)
.jpg)