Contact Us
Changsha Hone Arts Co.,Ltd
TEL: +86-731-84886102
WhatApp:13975166561
E-mail: marketing5@hnarts.com
Address :RM 8033 FL 8 Tower B Wan Fu Hui Mansion 9 Shuang Yong RD PC 410003 Changsha China


DIY Paper Flower Craft Tutorial
Materials Needed
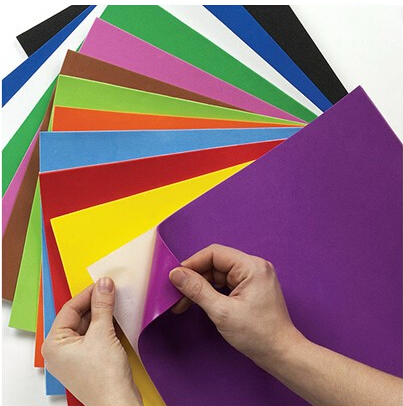
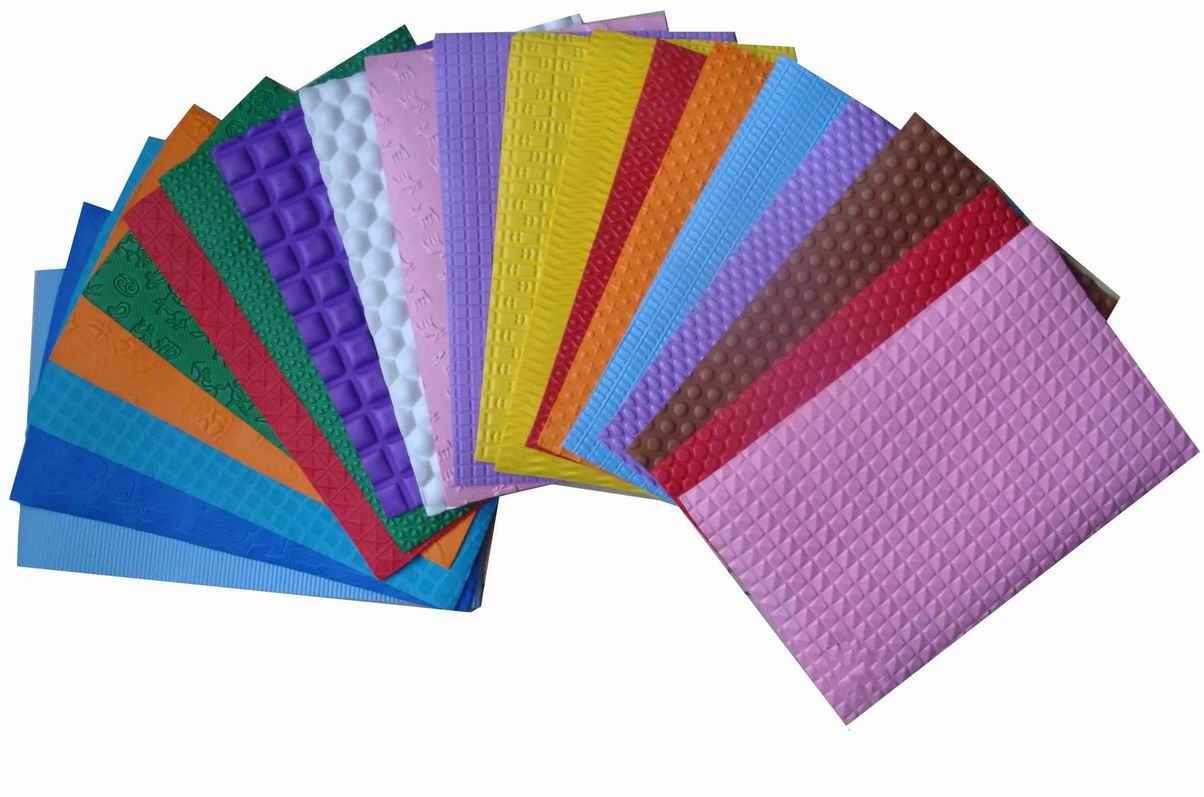
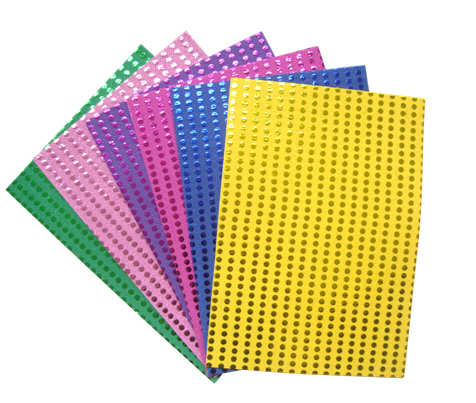
· Colored craft paper
· Scissors
· Double-sided tape or craft glue· Green stem ( rolled green paper)
· Ruler (optional, for straight cuts)
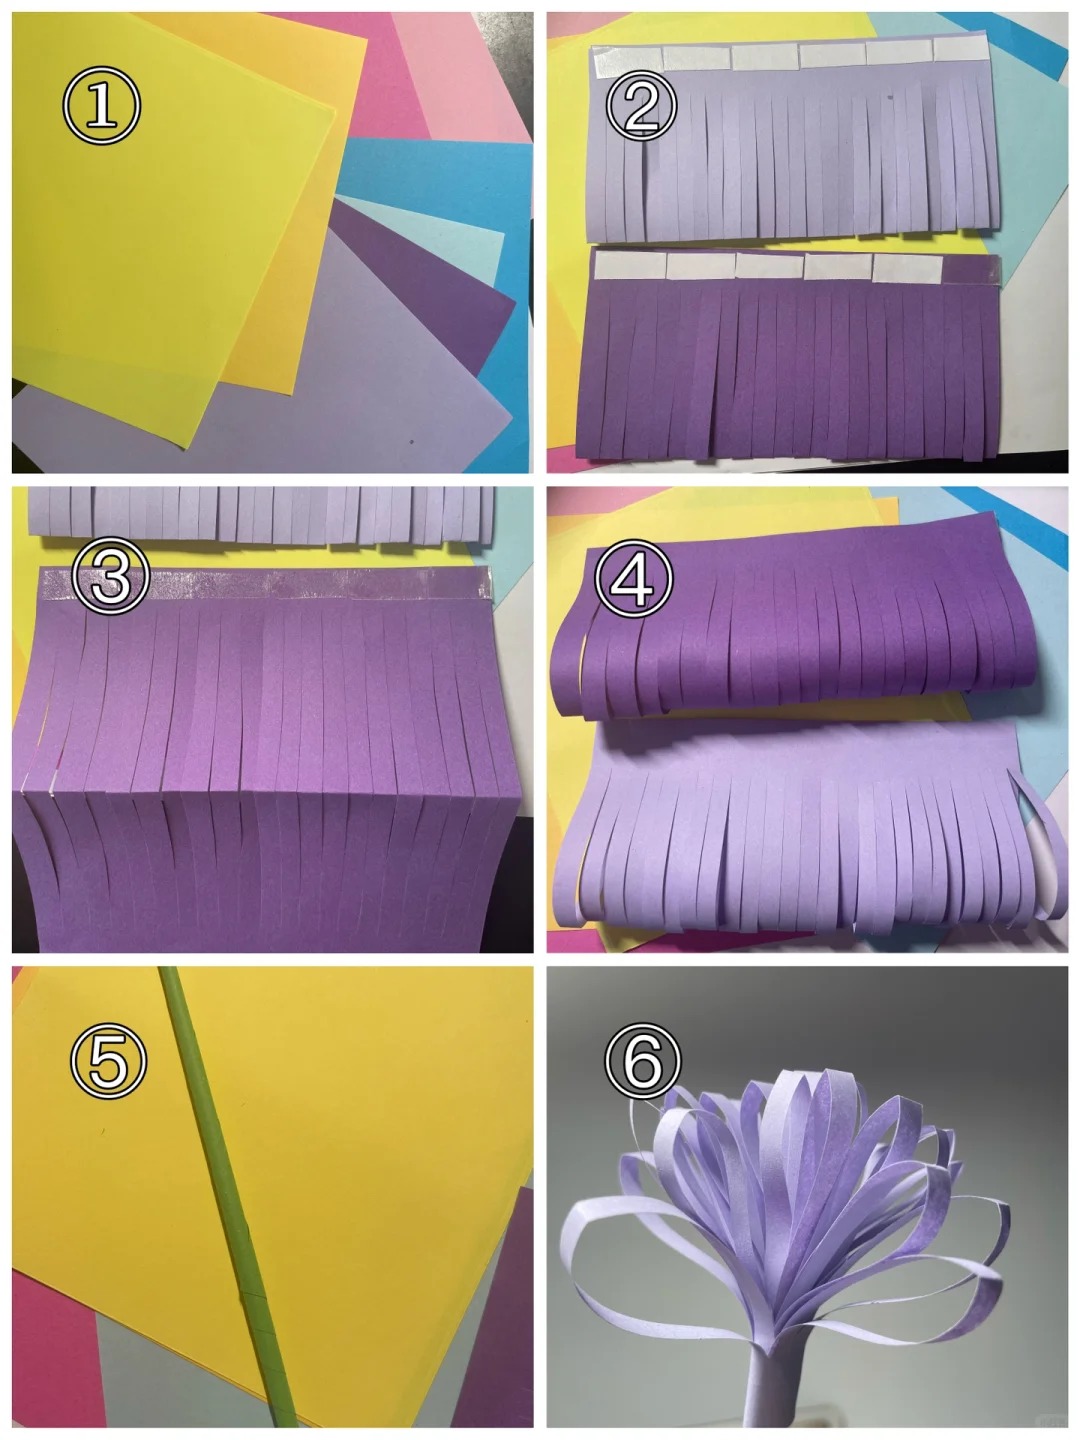
1. Prepare Your MaterialsGather square sheets of colored paper in your preferred shades. For a layered look, use two different tones of the same color.
2. Create the FringesCut the paper into long rectangular strips, leaving a solid, uncut border along one edge (about 1–2 cm wide). The strips should be thin and evenly spaced for a full, fluffy appearance.
3. Apply AdhesiveApply double-sided tape or a thin line of craft glue along the solid border of the fringed paper. This will be the base for rolling the flower.
4. Roll the FlowerStarting from one end, tightly roll the paper along the adhesive strip. Keep the fringed strips on the outside of the roll. For a more voluminous flower, roll two or more fringed sheets together.
5. Prepare the StemTake a green pipe cleaner or roll a strip of green paper tightly to form a stem. Secure the end with a small piece of tape.
6. Assemble and ShapeAttach the rolled paper flower to the top of the stem using glue or tape. Gently fan out and curl the individual paper strips to create a natural, blooming shape.


.jpg)
.jpg)
.jpg)
.jpg)