Contact Us
Changsha Hone Arts Co.,Ltd
TEL: +86-731-84886102
WhatApp:13975166561
E-mail: marketing5@hnarts.com
Address :RM 8033 FL 8 Tower B Wan Fu Hui Mansion 9 Shuang Yong RD PC 410003 Changsha China


There’s something uniquely charming about roses—they’re a symbol of love, grace, and the vibrant energy of spring. But fresh roses fade too quickly, leaving us longing for a way to keep that beauty around. Luckily, you don’t need a green thumb to enjoy eternal roses. Today, we’ll show you how to make delicate, lifelike roses using crepe paper—an easy, affordable craft that lets you bring the warmth of spring into your home, or even create heartfelt handmade gifts for loved ones.
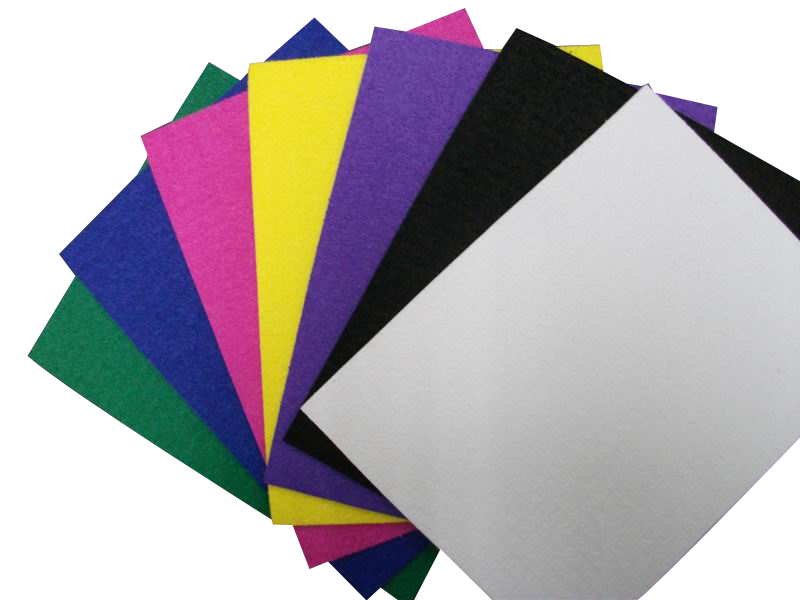
Crepe paper: Choose 2-3 shades of pink, red, or your favorite rose color (light pink for the inner petals, deeper pink for outer layers works beautifully). You’ll also need a small piece of green crepe paper for the calyx and leaves.
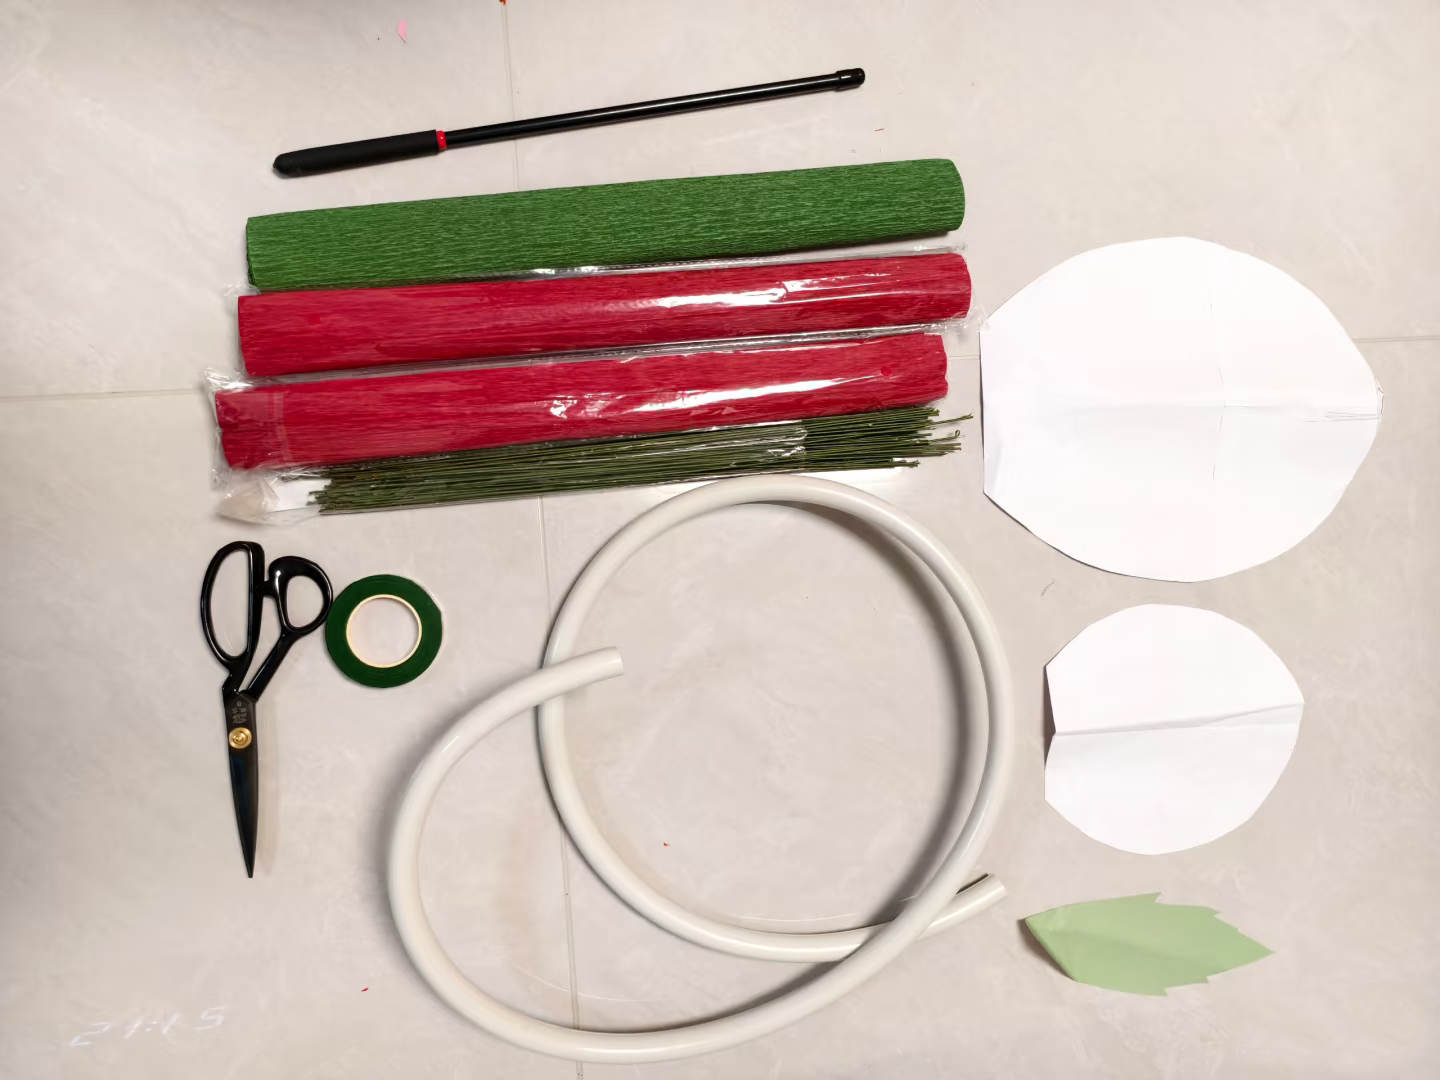
Tools: Scissors (sharp craft scissors work best for clean cuts), floral wire (18-20 gauge, for the stem), green floral tape, a glue stick or white craft glue, and a small paintbrush (optional, for shaping petals).
Extras: A ruler (to measure petal sizes) and a pencil (to trace petal shapes, if you’re new to freehand cutting).
Step-by-Step Instructions
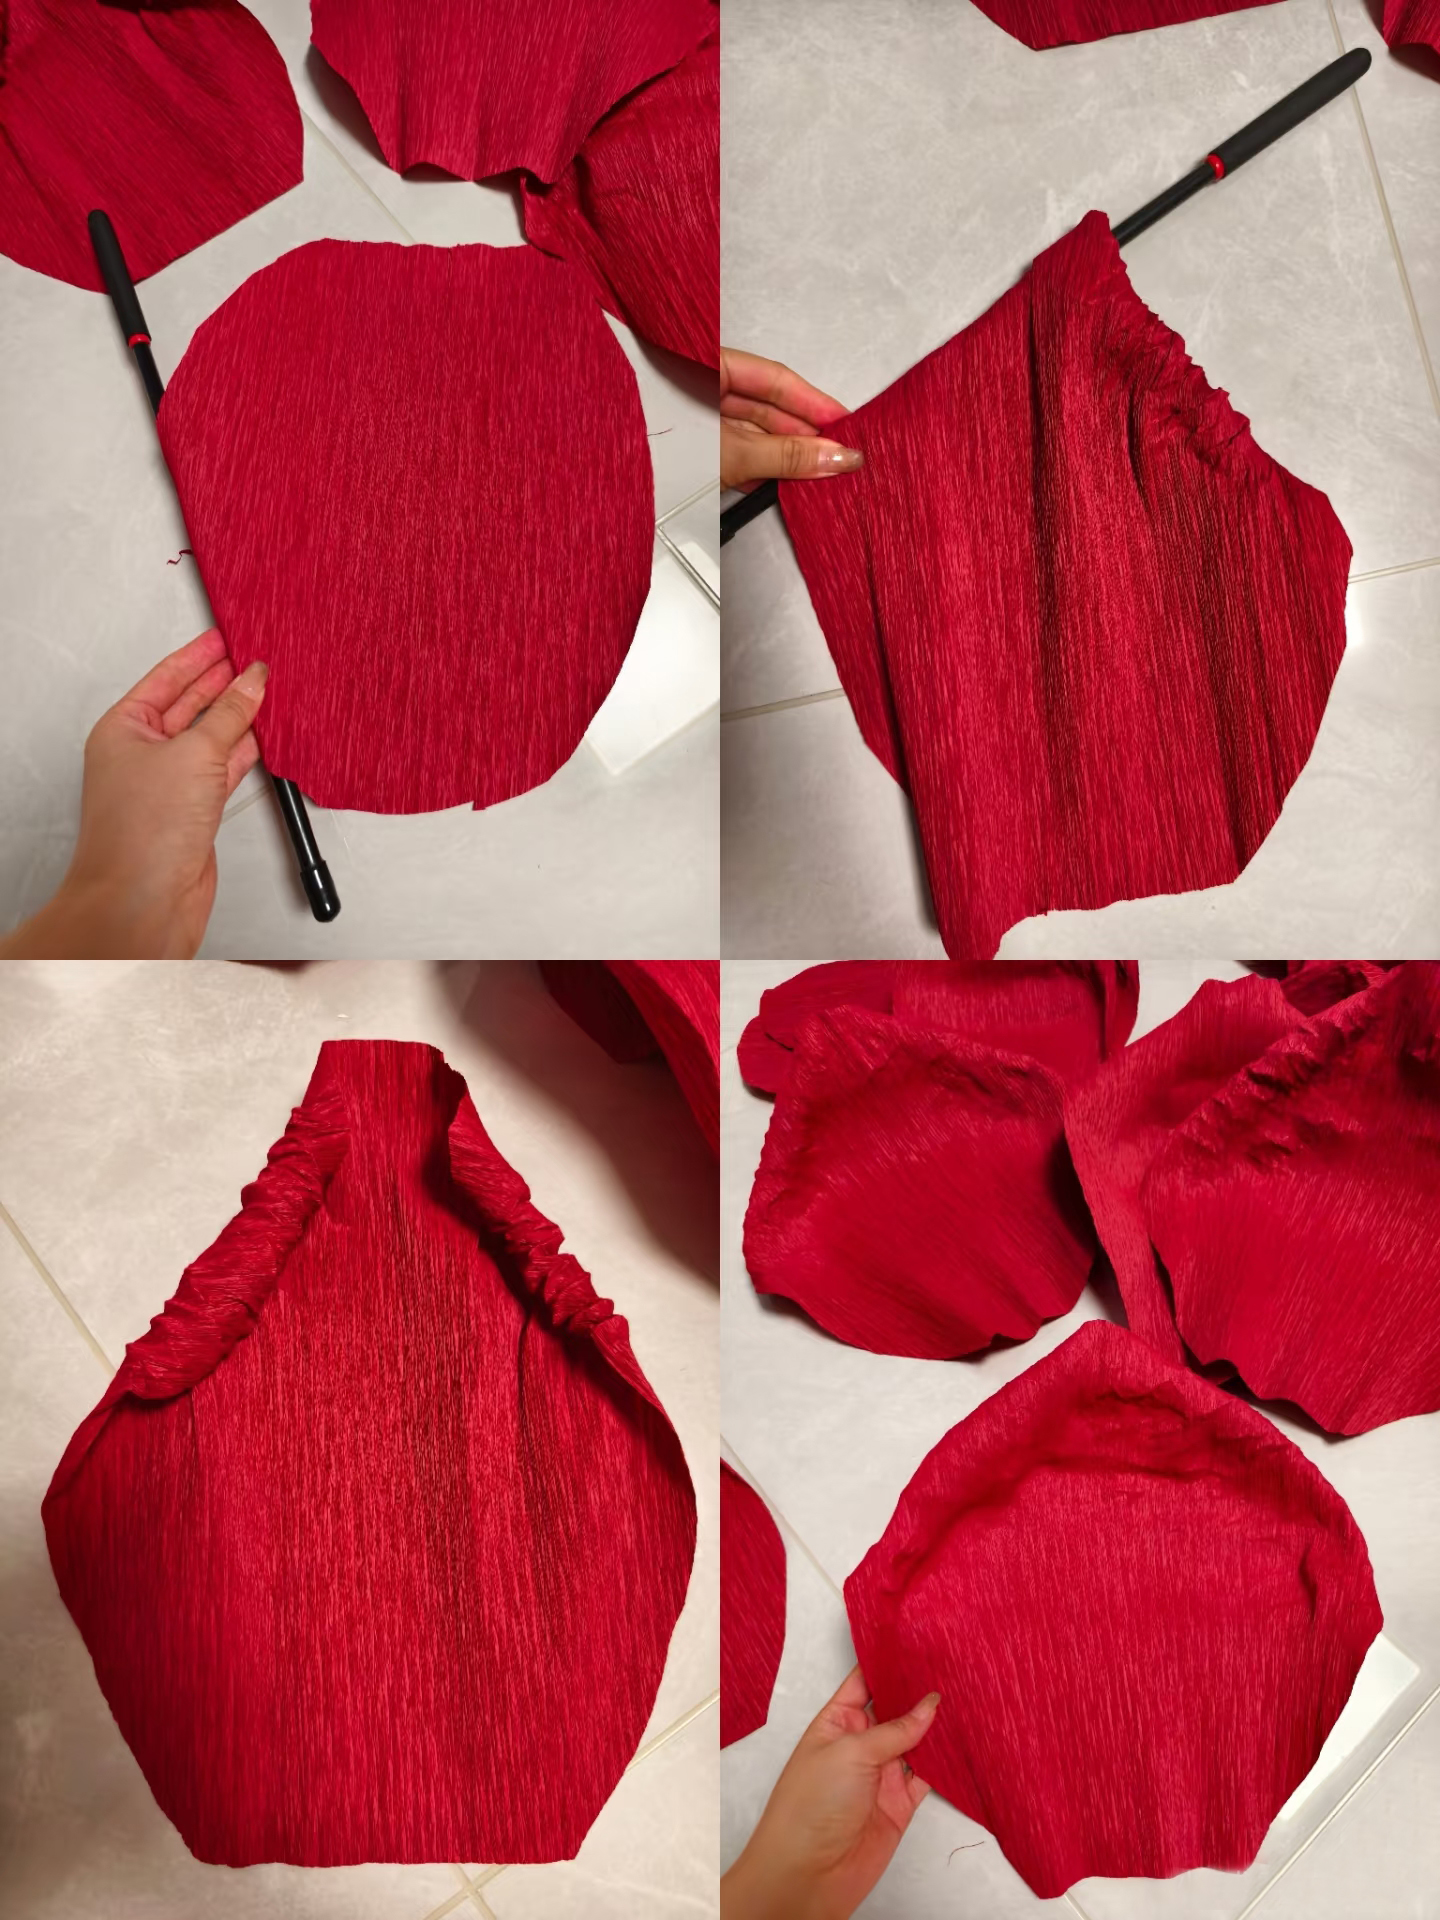
1.Cut the crepe paper into petal shapes
First, prepare 3 sizes of rose petals: small (about 5cm long, 3cm wide), medium (6cm long, 4cm wide), and large (7cm long, 5cm wide). Cut 5-6 petals for each size. For a natural look, make the petal edges slightly curved (not perfectly straight).
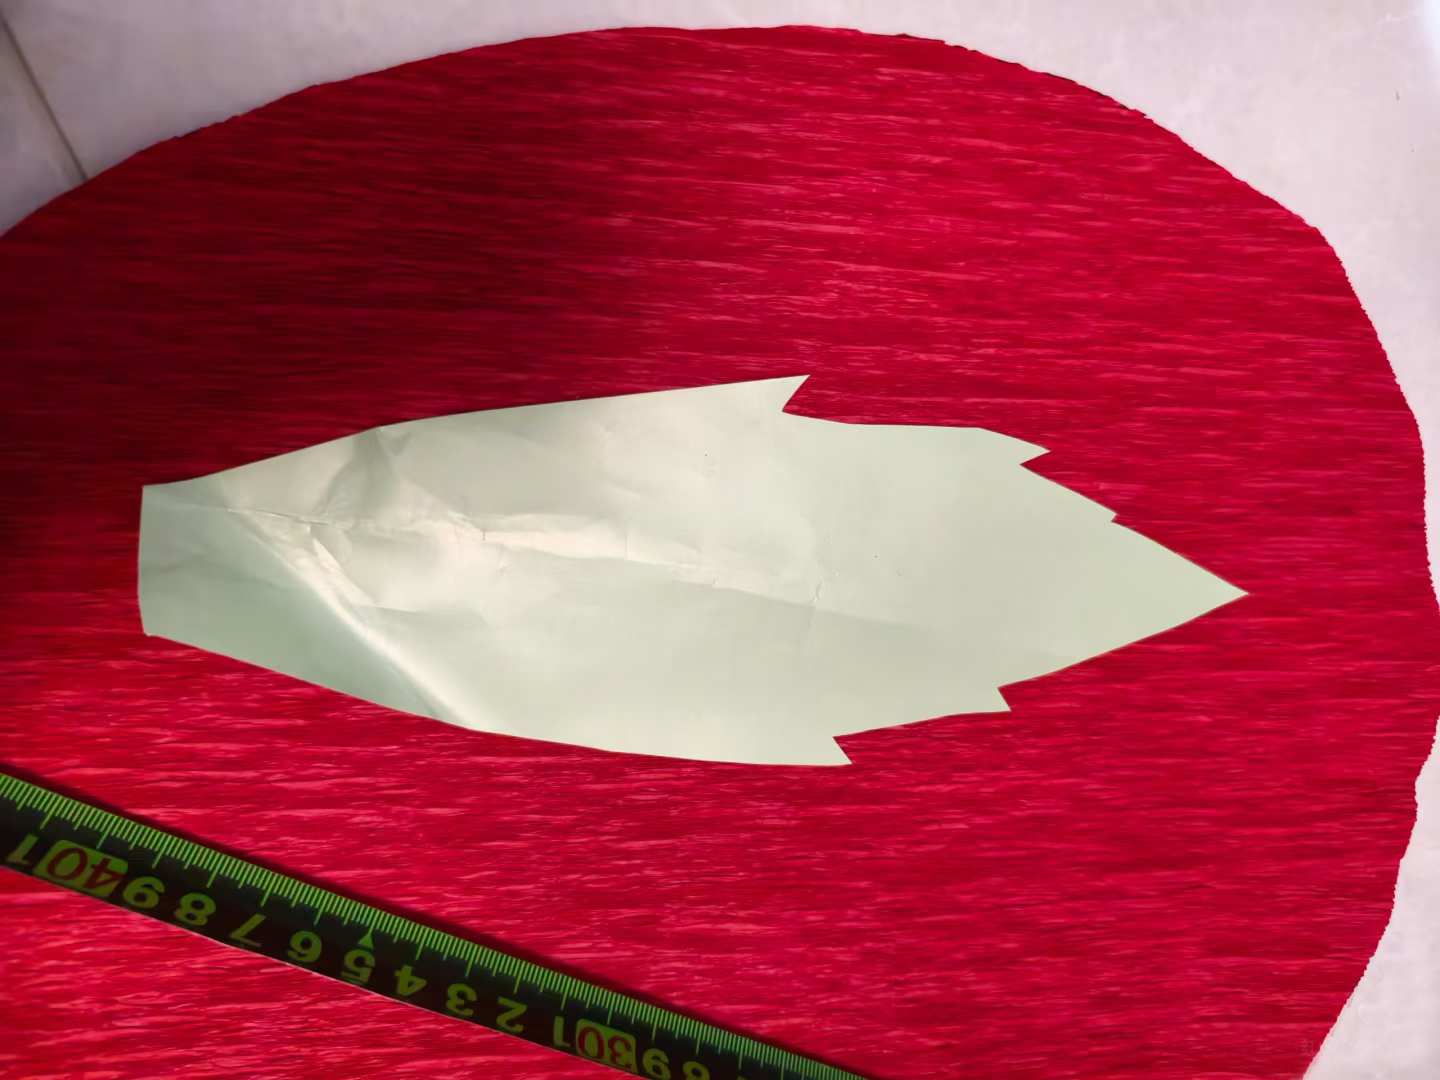
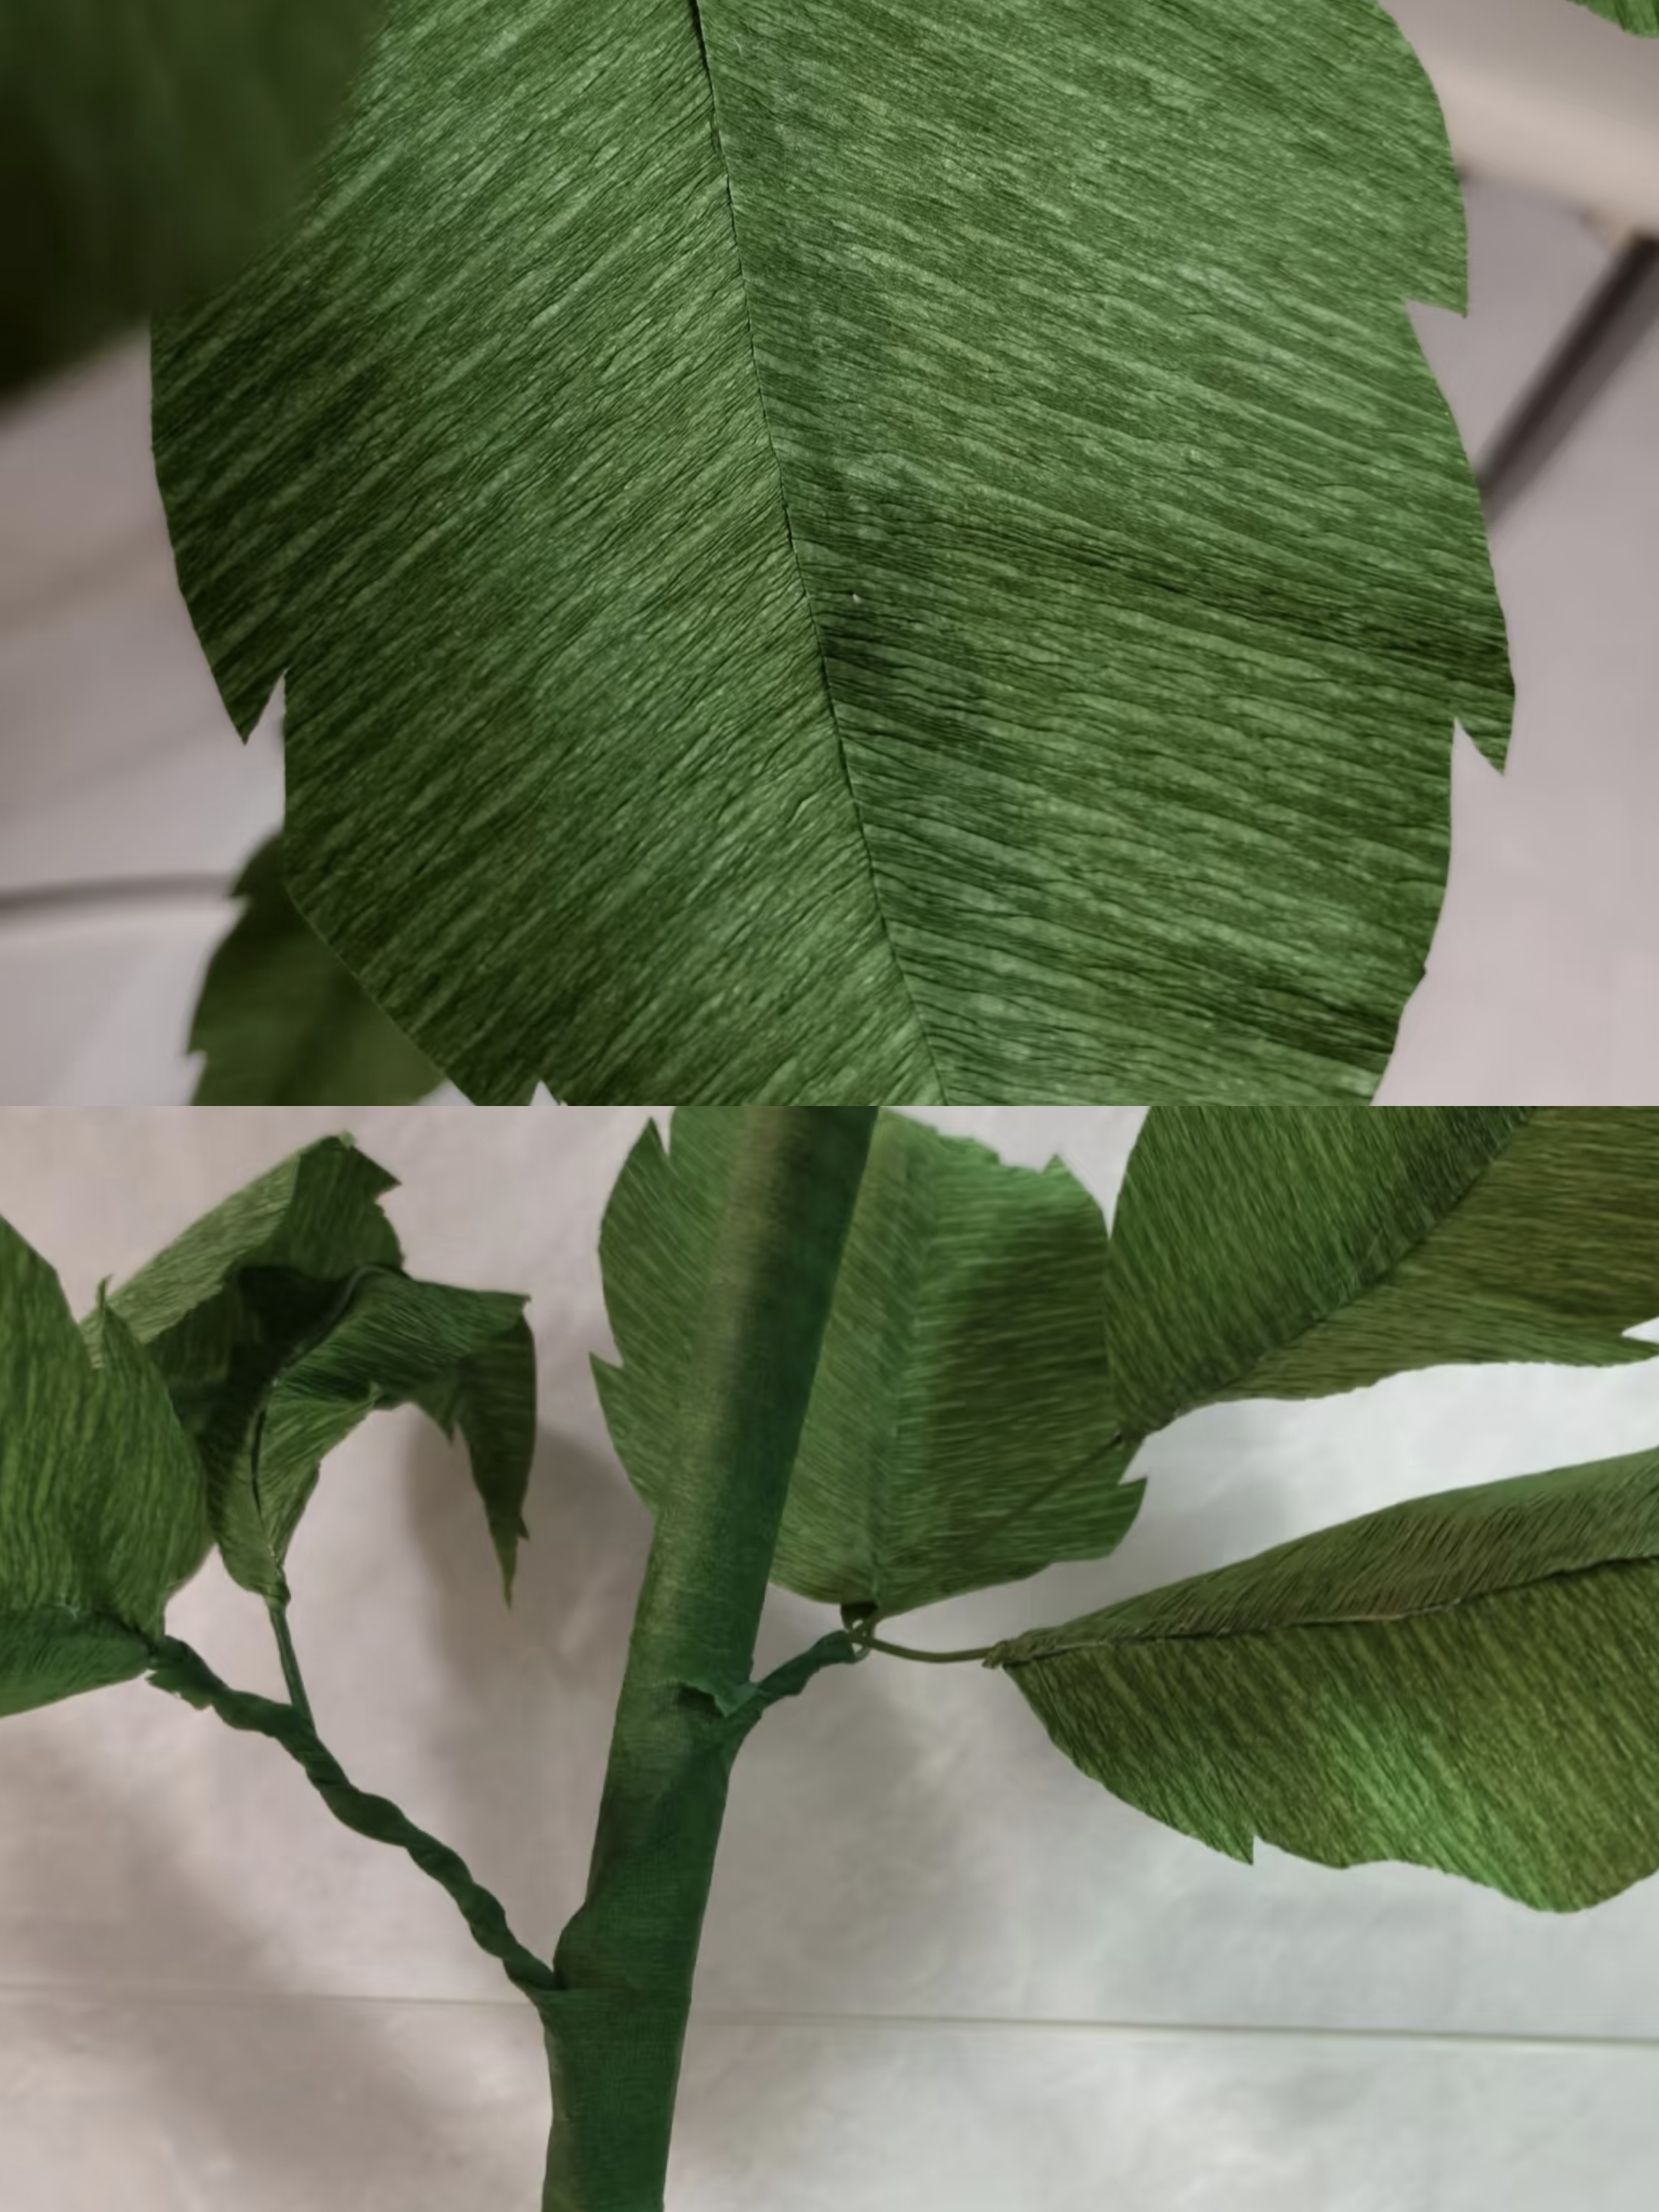
Next, cut a small green crepe paper rectangle (8cm x 5cm) for the calyx, and 2-3 leaf shapes (4cm long, 2cm wide) for the stem.You can use this mold to cut some green leaves.
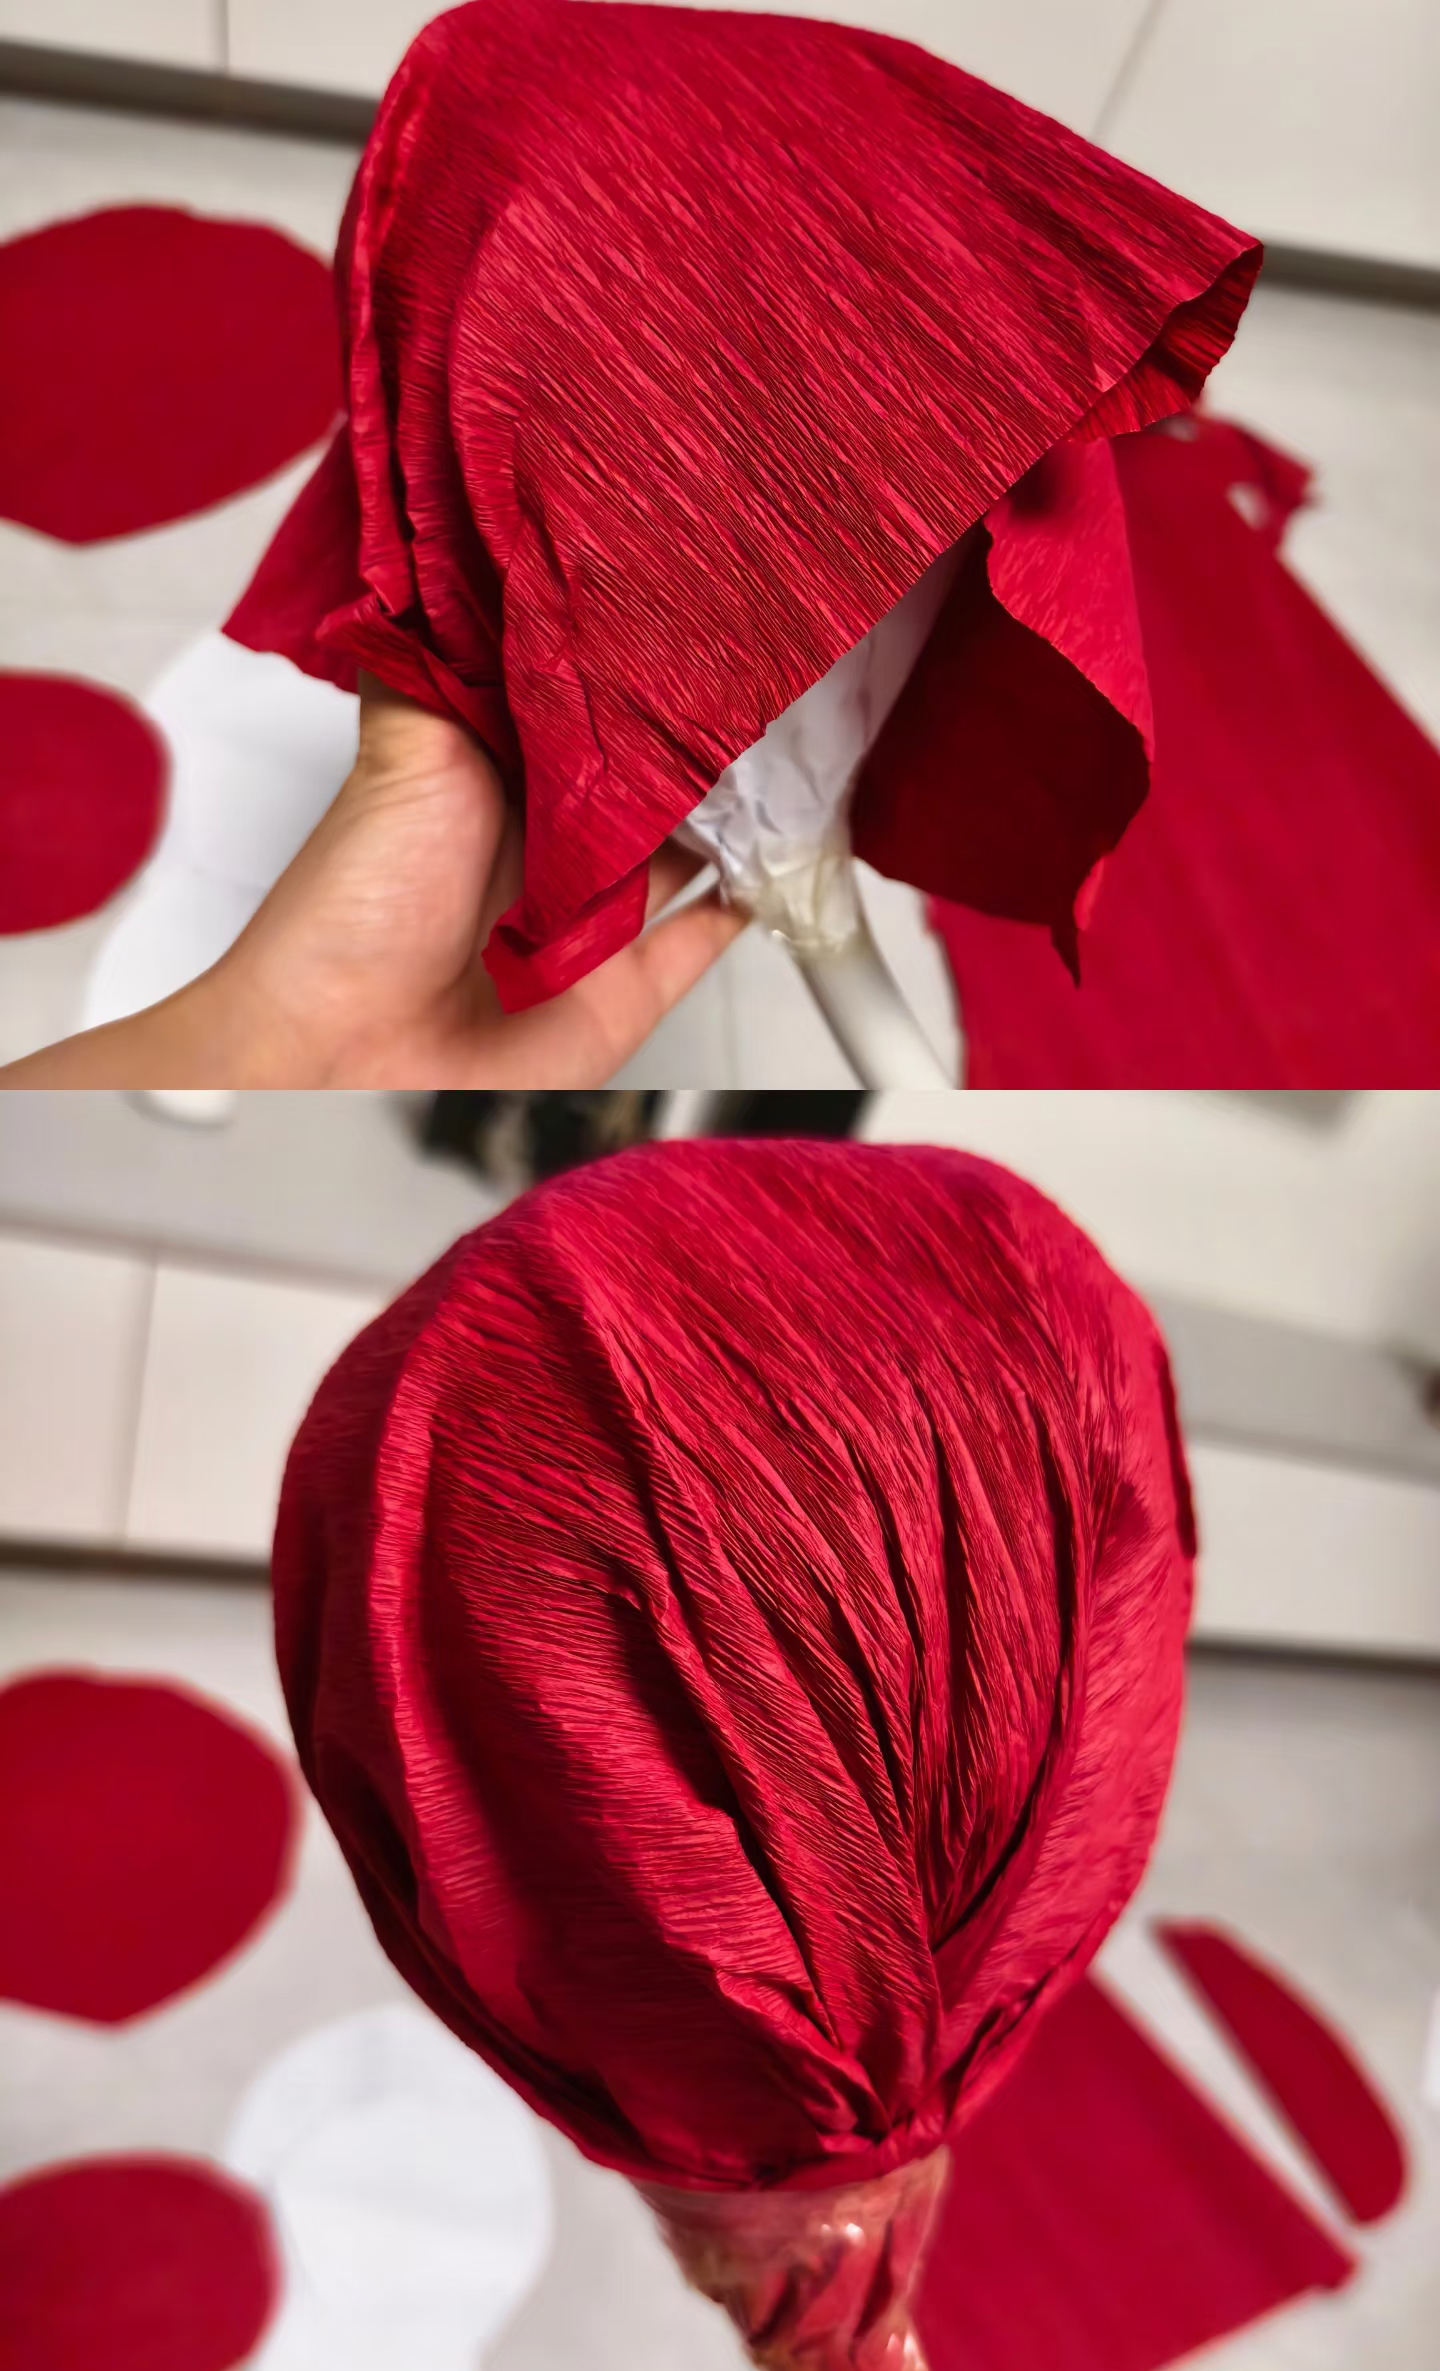
Crepe paper has a “stretchy” side (the direction where the paper pulls slightly). Gently stretch the curved edge of each petal with your fingers—this will create a soft, ruffled effect that mimics real rose petals. For medium and large petals, use a paintbrush handle to gently roll the top edge of the petal inward (this adds a natural “cupped” shape).
Take a piece of floral wire (about 15cm long) and a small petal. Apply a dot of glue to the bottom 1cm of the petal, then wrap it tightly around the top of the wire—this forms the “bud” center of the rose.
Repeat with the large petals, placing them even further outward to mimic the full, open shape of a rose. Make sure the petals overlap evenly—this will give your rose a full, natural appearance.
Add 2-3 more small petals around the bud, overlapping each one slightly. Use glue to secure the bottom of each petal to the wire, and wrap a small piece of floral tape around the base to hold them in place.
For the leaves: Apply glue to the bottom of a green leaf shape, then attach it to the floral wire stem (about 3-4cm below the calyx). Add 1-2 more leaves, spacing them evenly. Once the glue dries, wrap floral tape from the calyx all the way down the stem—this covers the wire and secures the leaves.
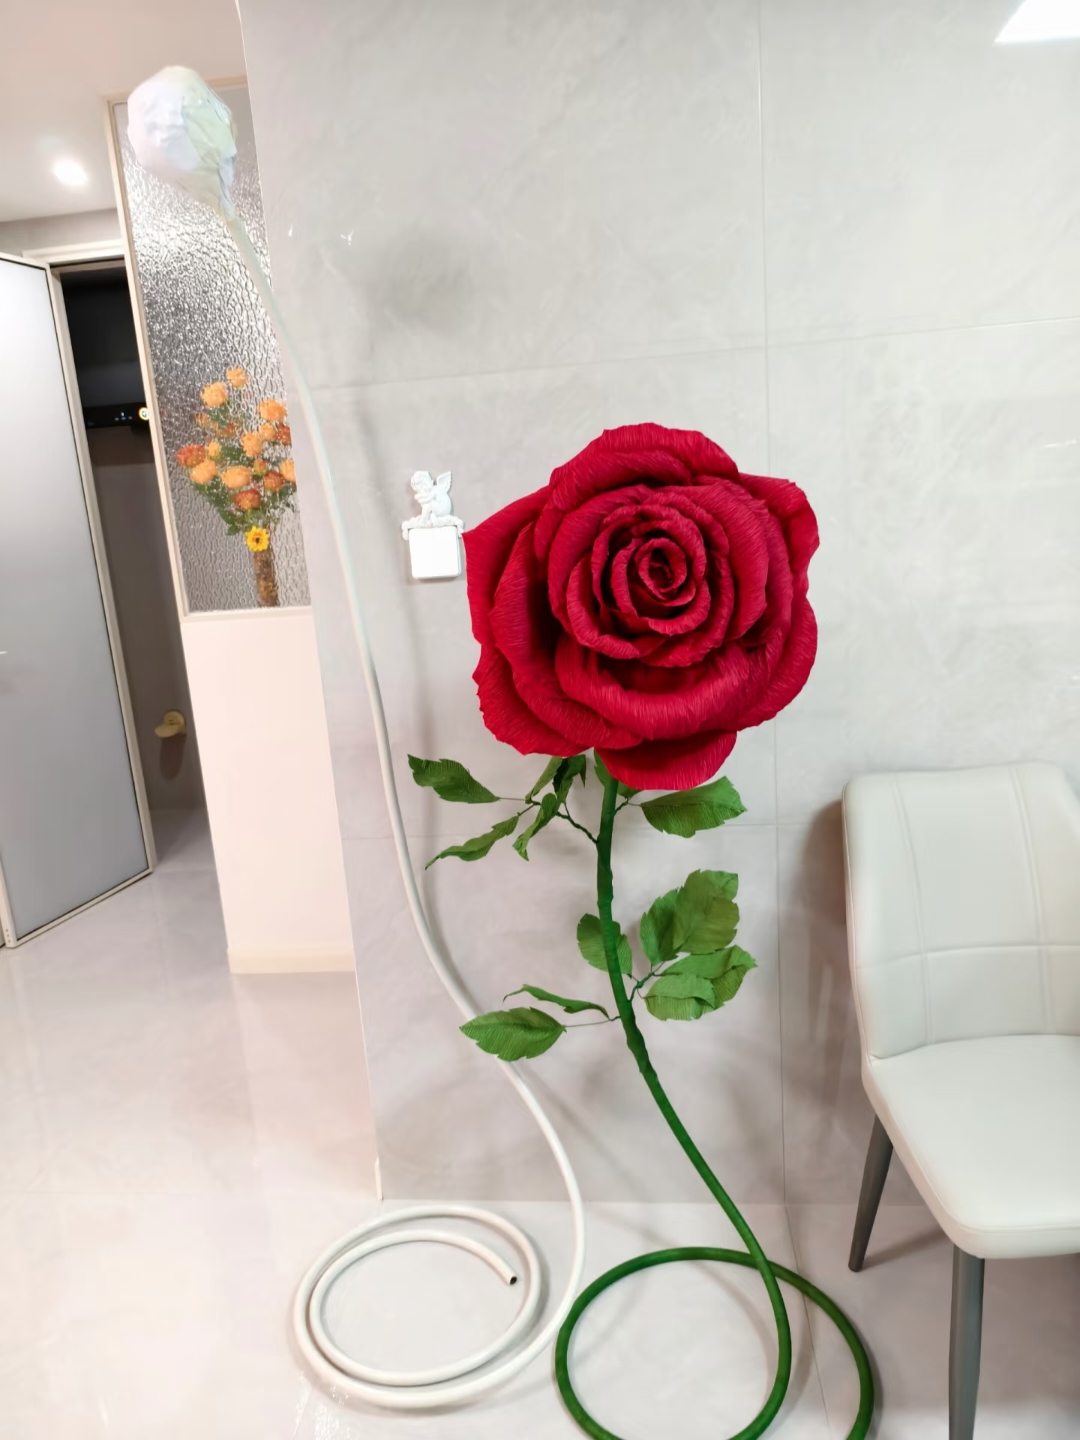
And there you have it—a beautiful, everlasting crepe paper rose that never fades! Whether you display it in a small vase, use it to decorate a gift box, or even make a bouquet of different colors, this handmade rose is sure to bring a touch of spring charm wherever it goes. Grab your crepe paper and give it a try—you’ll be amazed at how easy it is to create something so lovely!


.jpg)
.jpg)
.jpg)
.jpg)