Contact Us
Changsha Hone Arts Co.,Ltd
TEL: +86-731-84886102
WhatApp:13975166561
E-mail: marketing5@hnarts.com
Address :RM 8033 FL 8 Tower B Wan Fu Hui Mansion 9 Shuang Yong RD PC 410003 Changsha China


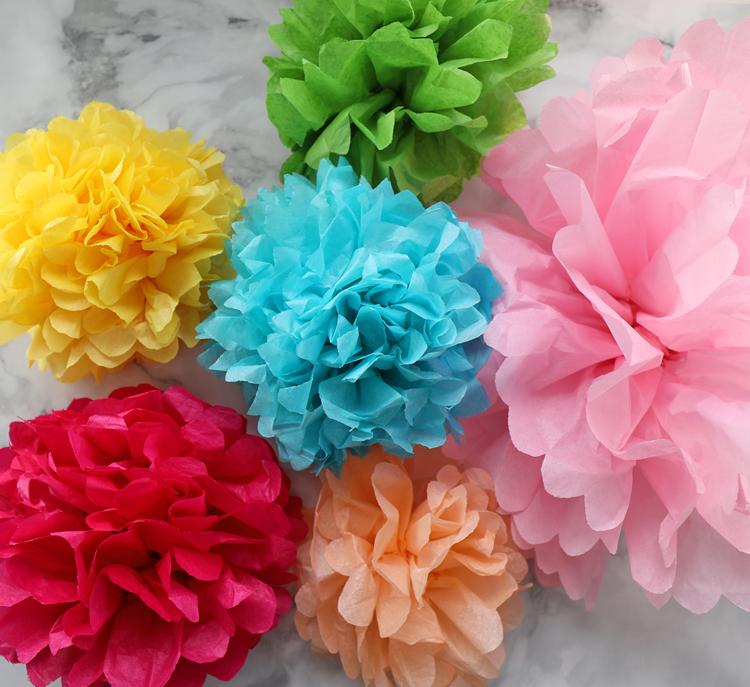
Have you ever made tissue paper flowers? They are such an easy, inexpensive craft and can be used in so many different ways. This article is the ultimate guide to everything you want to know about tissue paper flowers. I’m sharing ALL of the information you need in one place!
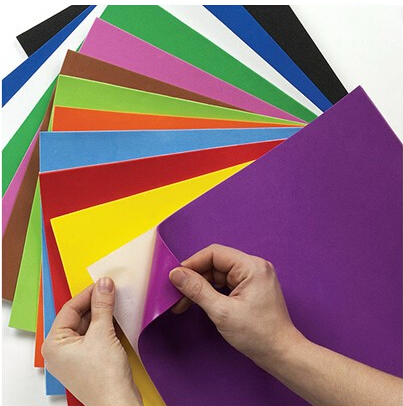
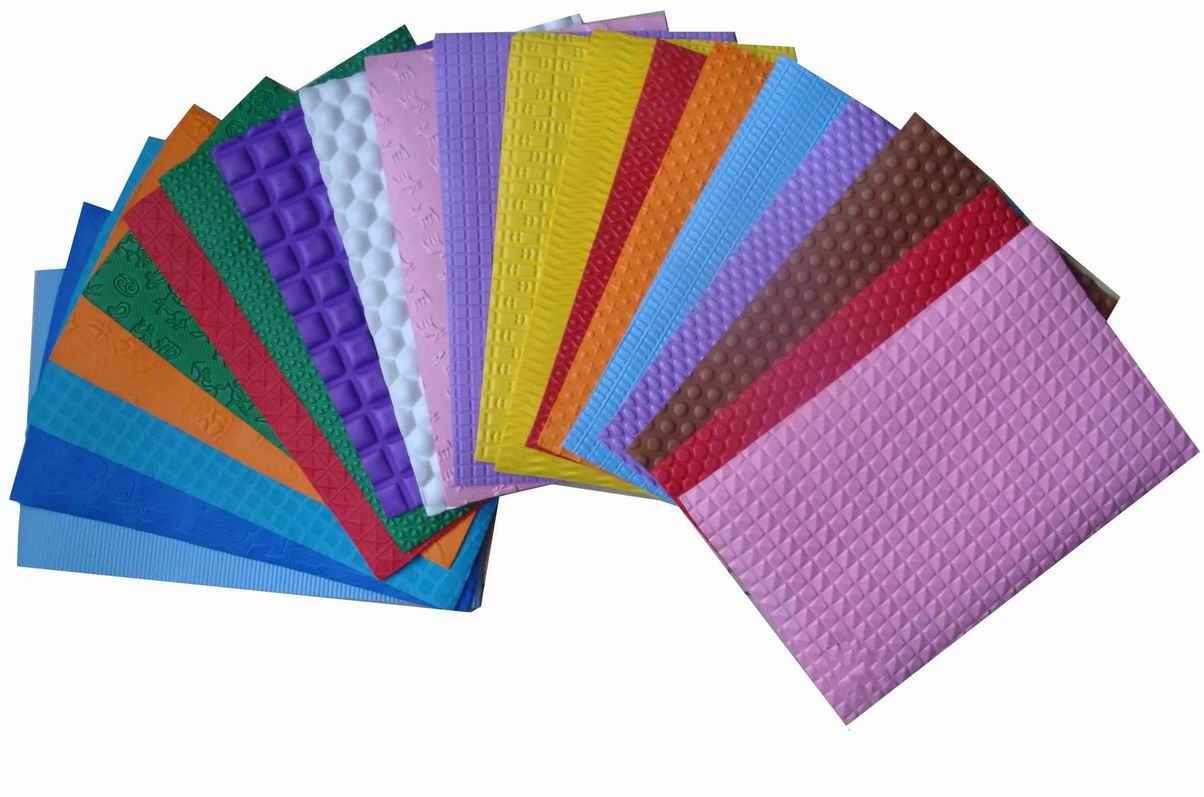
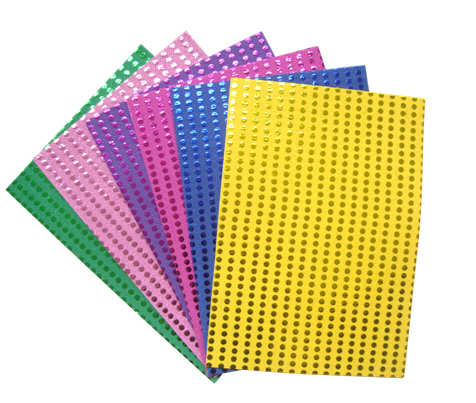
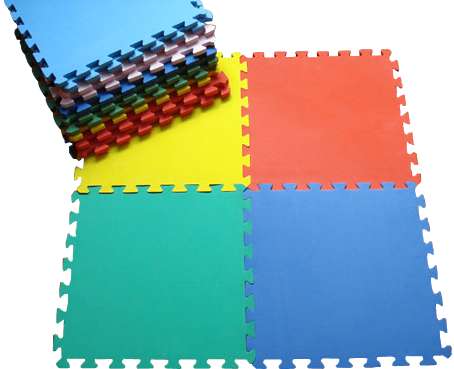
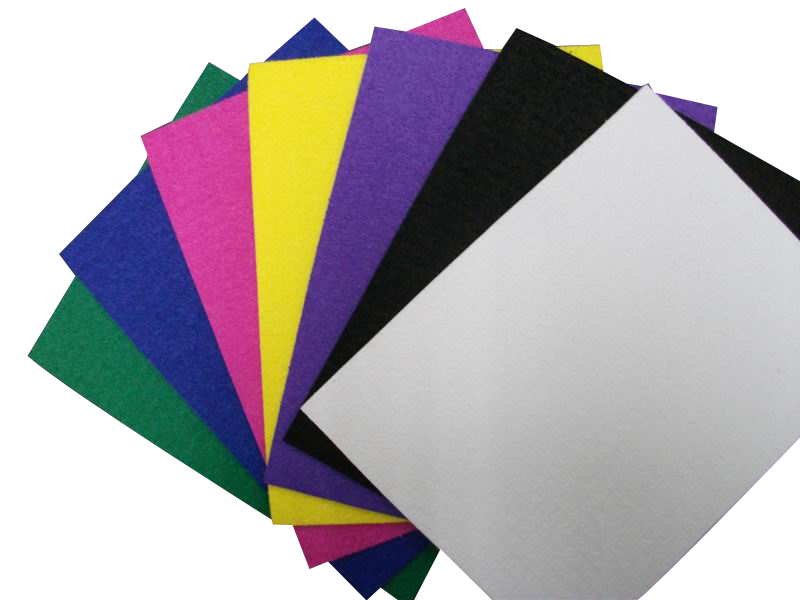
· Colorful Tissue Paper
· Scissors
· Stapler + Staples
· Ruler or Measuring Tape
Step 1: Stack several layers of tissue paper neatly in front of you. (Refer to sizing chart below)
![]()
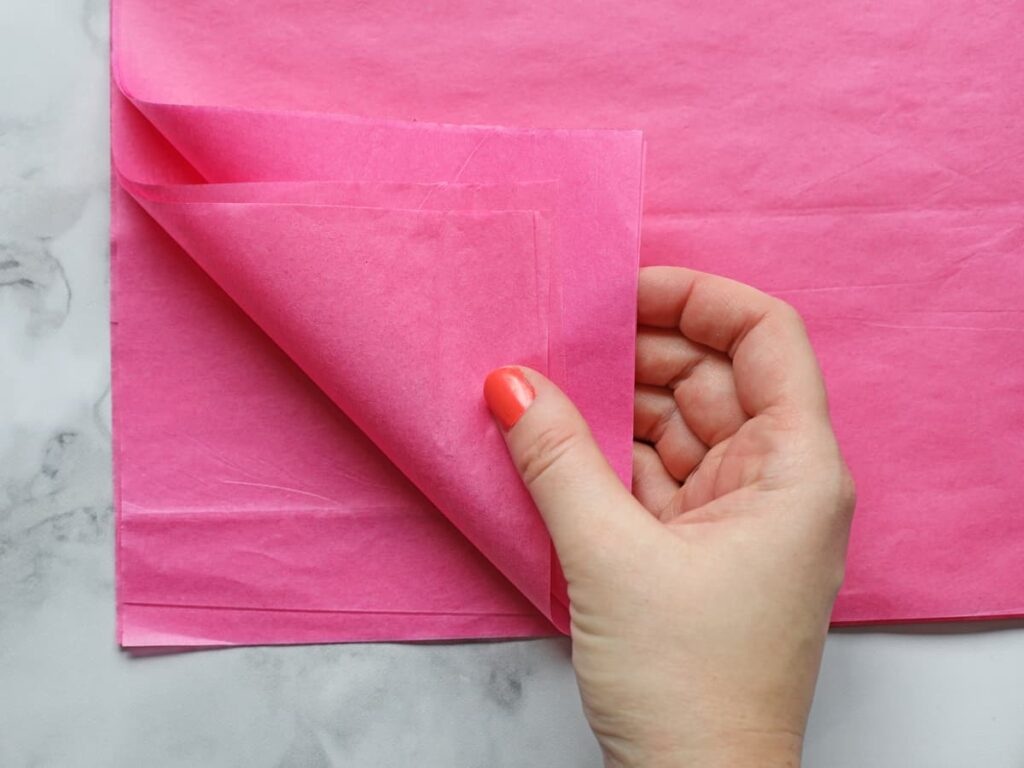
Step 2: Starting at the short end, accordion fold 1 inch sections of the tissue paper until the whole length of the tissue paper is folded together.
Step 3: Secure the center using a stapler. Be sure the staple goes through all layers of the tissue paper.
Step 4: Use scissors to shape both ends of the tissue paper. Scroll down a bit to see a chart of different ways you can cut the ends and how the flower will look.
Step 5: Fan out the folds and begin separating each layer. Fluff and shape the flower until it looks pretty.
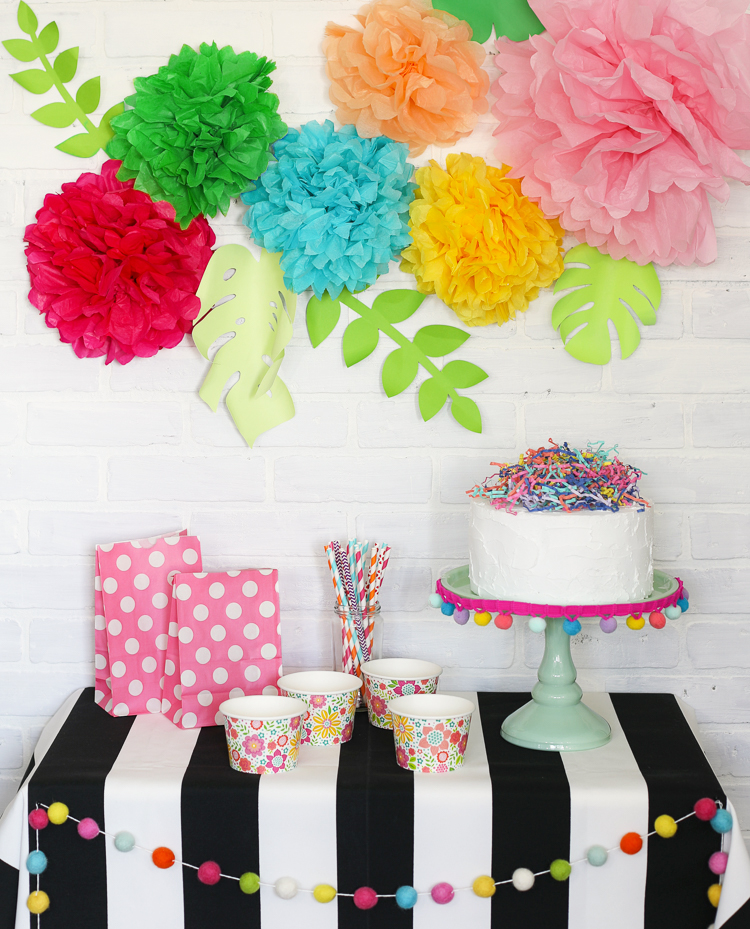
See why I love tissue paper flowers so much? They are just so inexpensive and versatile and pack a visual punch! Go ahead and give them a try the next time you have the creative itch.


.jpg)
.jpg)
.jpg)
.jpg)